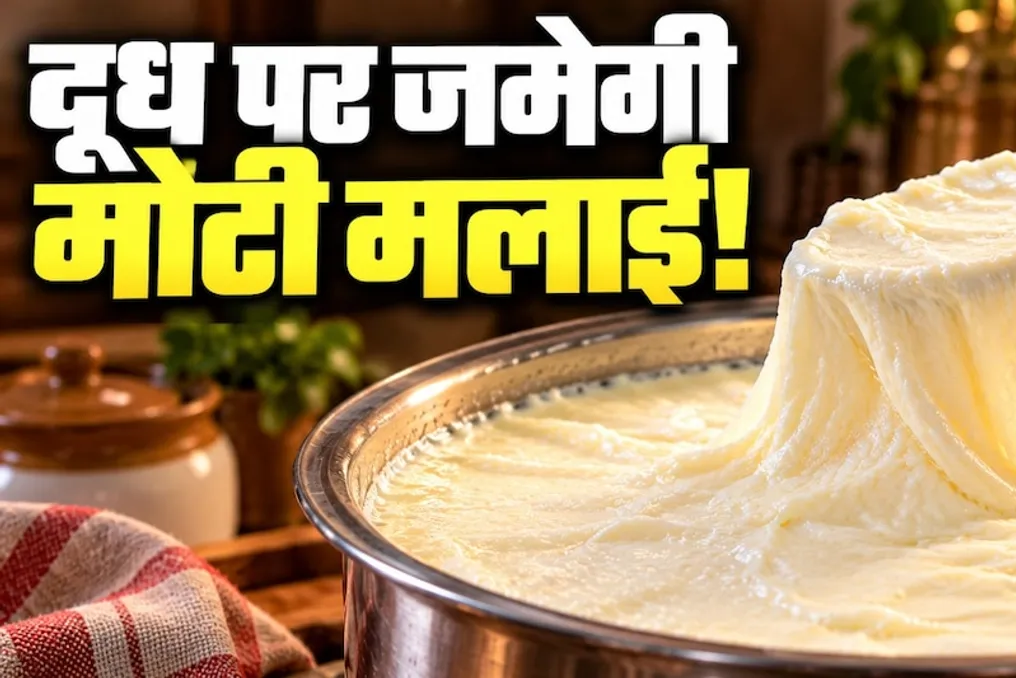
Ways to obtain thick cream: tips for making malai from milk
Read more
Aaj Tak
www.aajtak.in

Ways to obtain thick cream: tips for making malai from milk

Many people enjoy consuming thick cream that forms on the surface of milk. Some use it to make homemade clarified butter (desi ghee), while others prefer to eat it with paratha or roti. However, sometimes, even after boiling milk, a thick layer of cream does not form on the surface. People often mistakenly believe that the reason lies in the quality of the milk itself, assuming that water was added to it.

Nevertheless, there are many factors influencing the formation of thick cream besides the quality of the milk. The formation of cream is related not only to the product's quality but also to the method of boiling, fat content, and cooling method. By following a few simple rules, you can achieve the formation of good cream from milk.

To get quality cream to form on milk, you need to properly organize the heating process. For this, you should use clean and deep cookware so that the milk does not spill during boiling. The milk should be heated over medium heat, stirring it occasionally with a spoon so that it does not burn to the bottom.

When the milk boils, you should reduce the heat and let it simmer for a while. There is no need to boil it constantly over high heat.

The amount of cream that forms on milk directly depends on its fat content. If the milk has little fat, the amount of cream obtained may also be small. Generally, whole milk contains more cream.

Therefore, if your goal is to obtain thick cream, be sure to check the fat percentage of the milk when purchasing. Simply boiling milk for a long time does not guarantee the formation of thick cream.

Cooling the milk after boiling is also very important. Sometimes people continue to stir the milk with a spoon or mix it during the cream formation process. Such actions can lead to the destruction of the cream layer forming on top.

Therefore, after boiling, the milk should be placed in a place where it will not move frequently. To protect it from dust, cover it with a clean lid. Let the milk cool down, avoiding constant stirring. This promotes better formation of thick cream.

After the milk cools, it should not be left at room temperature for long, as it can spoil quickly in hot weather. Therefore, the milk should be properly cooled and promptly placed in the refrigerator.

If you want the cream to be thick and high quality, try not to take the milk out of the refrigerator and do not stir it with a spoon. Additionally, store the milk in clean cookware in the refrigerator and use it promptly.


Similar stories

Ways to achieve crispy skin when roasting chicken without drying out the meat
Read more
iol.co.za

Ways to achieve crispy skin when roasting chicken without drying out the meat

When roasting a whole chicken, it can develop a beautiful golden color, but the skin might end up soft and rubbery instead of crispy. Trying to fix this by increasing the temperature can lead to the meat drying out. The secret to achieving crispy skin lies in removing excess moisture, ensuring hot air circulation, and avoiding overcooking the poultry.

Preparing the skin before roasting

Moisture is one of the main obstacles to crispy chicken skin. You need to thoroughly pat the chicken dry with paper towels, paying attention to the wings and legs. If you have time, you can leave the chicken uncovered on a rack in the refrigerator for several hours or overnight to further dry the skin. While doing this, keep the chicken in the refrigerator and never rinse raw poultry under running water, as splashes can spread bacteria.

Controlling cooking temperature

A good starting point for roasting a whole chicken is a temperature of around 200°C, although the cooking time depends on the size of the bird and the characteristics of your oven. It is recommended to place the chicken on a rack to ensure hot air circulates from below. Season the skin and use only a light amount of oil. If the chicken is cooked but requires additional browning of the skin, you can briefly increase the temperature or use the grill mode, carefully watching to avoid burning. It is important not to sacrifice juicy meat for crispier skin; use a kitchen thermometer to ensure that the thickest part of the breast and the inside of the thigh reach 74°C.

Reasons for skin softening after roasting

The accumulation of steam can be the cause of softening. Instead of tightly wrapping the chicken in foil, it should be allowed to rest uncovered. When serving the dish, try to keep sauces and meat juices away from the crispy skin before the chicken is placed on the plate. These liquids are better poured around the meat or served separately.

How to get crispy skin in an air fryer

Air fryers are well-suited for portioned parts of chicken, such as thighs and drumsticks. The circulating hot air promotes browning of the skin, provided that humidity levels are controlled and the basket is not overloaded.

For a crispier result:

Pat the chicken dry before seasoning. Use a little oil, not a heavy layer. Ensure space between pieces for air circulation. If necessary, cook in batches. Monitor the internal temperature, not just the color or cooking time; the chicken must reach 74°C. After cooking, let the chicken rest uncovered for a short time to maintain the crispy texture of the skin. The basic principle is the same for both methods: dry skin, good air circulation, and thorough cooking will help achieve crispy skin without dry meat.

Tips for making soft millet roti: how to avoid cracks and make it tender
Read more
www.aajtak.in

Tips for making soft millet roti: how to avoid cracks and make it tender

Millet roti is considered very healthy and is often eaten by families during the winter season. However, problems sometimes arise during preparation: the roti may break, become too hard after baking, or the edges may tear.

Enjoying hot millet roti in cold weather is especially pleasant; it is traditionally eaten with honey, butter, garlic paste, or sardines. Besides its taste, millet roti is an excellent source of fiber and many essential nutrients, which explains its popularity in winter. Nevertheless, the cooking process can be difficult for some people.

Situations often occur where the dough cracks during kneading, the edges tear while rolling, and the finished roti turns out quite hard. If you want to learn how to cook soft and tasty millet roti at home, simple methods are presented below.

Tips for making soft millet roti

First, mix the millet flour with salt in a bowl. Then, knead the dough by gradually adding warm water. The dough should be kneaded well for 4-5 minutes until it becomes smooth and soft. It is important to ensure that the dough is neither too dry nor too sticky. If the dough starts to crack when pressed, you can add a little more water. After that, cover the dough and let it rest for 5 minutes.

Next, form four equal balls from the dough and cover them. Take one ball, lightly dust it with dry millet flour. Placing it on a clean surface or parchment paper, gently shape it into a circle by lightly patting it with your fingers. The roti can be stretched to about 6 inches. If the edges start to tear, they can be carefully pressed with your fingers. It is also possible to use two sheets of parchment paper to give it shape.

Heat a skillet over medium heat and carefully place the roti on it. When the top surface of the roti becomes slightly dry, drizzle a small amount of water over it and distribute it. Flip the roti after about 30 seconds. Bake on the other side until light brown spots appear, then flip it again. After that, gently press the edges with a cloth so that the roti cooks completely. At the end, you can grill the roti over an open flame, but this must be done with caution.

When the roti is fully cooked, remove it from the skillet and brush a small amount of ghee on top. Millet roti can be served with butter, honey, garlic paste, eggplant, or dal. It also pairs well with yogurt (chaach).

Tips for keeping millet roti soft

To keep the roti soft, use fresh flour, as old flour can be dry and contribute to cracking during cooking. When kneading the dough, it is recommended to use warm water, adding it in portions as needed. After cooking, wrap the rotis in a clean cotton towel or place them in a covered pot so they do not harden too quickly. When reheating, you can lightly grease the skillet with ghee. If you initially had difficulty making millet roti, you can add a little wheat flour to the dough, as this will make handling the dough easier.

Popular