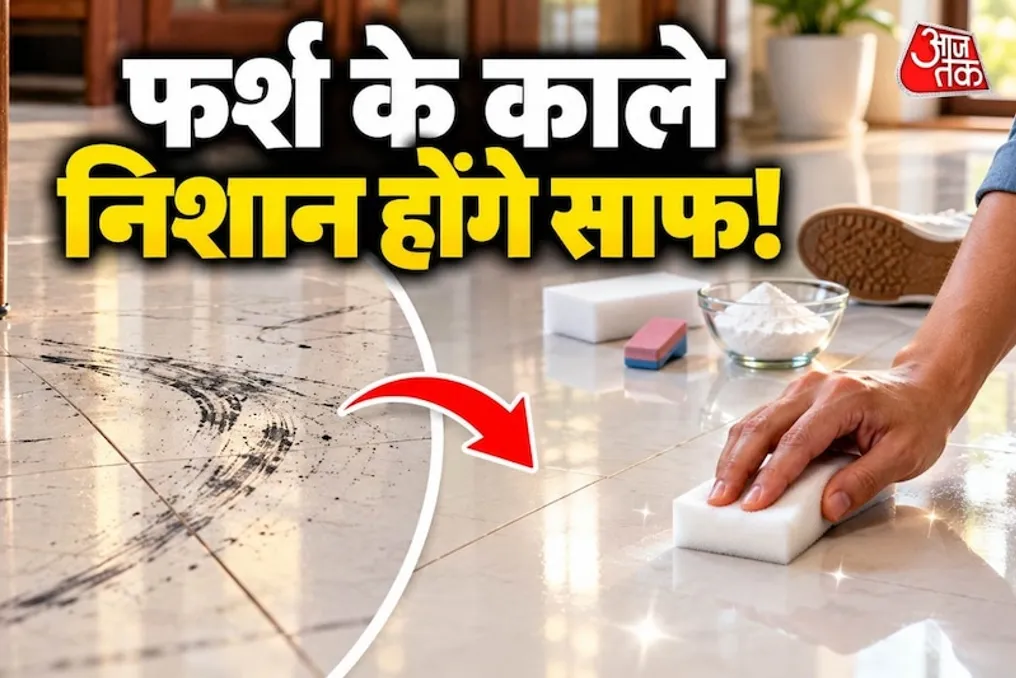
Four Ways to Remove Black Marks from Shoes and Slippers on the Floor
Read more
Aaj Tak
www.aajtak.in

Four Ways to Remove Black Marks from Shoes and Slippers on the Floor

Even after thorough cleaning, if numerous dark spots are visible on the floor, the entire house can look untidy. This is especially noticeable on light, cream, or white surfaces, as shoe and slipper marks appear quickly. Often, these spots remain even after washing the floor and scrubbing with detergent. Instead of buying expensive cleaning agents, some common household items can be used to lighten these stubborn marks without excessive effort.

These black marks form when the rubber sole of shoes or slippers rubs against the floor repeatedly. Sometimes similar lines appear when moving furniture, such as chairs or tables. If such marks appear on the floor, you can try one of four simple methods.

To remove black marks from the floor, you can use a melamine sponge, also known as an eraser sponge. Due to its structure, it effectively removes dirt and rubber marks stuck to the surface. You need to slightly dampen the sponge and gently rub the soiled area. After this, wipe the area with a clean cloth. It is important to avoid applying strong pressure, as there is a risk of scratching or damaging some types of flooring.

Although it may seem unusual, a clean shoe can also help get rid of black marks. Take a clean, light-colored shoe with a rubber sole and gently rub the spot with it. Sometimes this helps lighten a black mark on the floor. However, it is strictly forbidden to use dirty or dark shoes so as not to leave new stains on the surface.

An eraser, used for erasing pencil marks, can also be useful for removing rubber marks on the floor. First, wipe the spot with a damp, clean cloth. Then, on a dry surface, gently rub with the eraser. The black marks will gradually begin to fade. After finishing the cleaning, remove small pieces of eraser with a cloth. Before using it on wooden or delicate surfaces, it is recommended to test it on an inconspicuous area.

If the spots are very old and ingrained, you can try baking soda. Mix a little baking soda with water to form a thick paste. Apply this paste to the spot and gently rub with a soft cloth. After some time, remove the paste with a clean, damp rag, and then wipe the floor with a dry cloth. It should be remembered that baking soda can have a slight abrasive effect, so it should not be used on glossy, polished, or fragile surfaces without prior testing.

Some people try using a vinegar and water solution to remove black spots, but this is not suitable for all types of flooring. Vinegar can damage marble, natural stone, and some types of wood. Therefore, you should refrain from using this agent if you do not know the type of your floor.

If home remedies do not help, you need to use a specialized cleaning composition suitable specifically for that type of floor. Before applying any new cleaning product or folk remedy, be sure to conduct a test application on a small area.

To avoid the constant need to clean the floor, it is worth taking several simple measures. You should avoid walking in outdoor shoes inside the house. Place mats at the entrance door and take off your shoes upon entering. Additionally, rubber or felt pads should be attached to the legs of furniture (chairs, tables). This reduces the likelihood of scratches from furniture sliding. It is also important to regularly clean the floor so that dust and other dirt do not accumulate.

Similar stories

Tips for Effectively Cleaning High Shelves (Tand) Before Holidays
Read more
www.aajtak.in

Tips for Effectively Cleaning High Shelves (Tand) Before Holidays

As holidays such as Diwali approach, active cleaning begins in homes. People start polishing various surfaces—from floors and windows to fans, kitchen areas, bathrooms, as well as sofas and curtains. However, there is a place in the house whose cleaning is often forgotten until the last moment, where dust, cobwebs, and dirt accumulate for months. This refers to the upper shelves of the cupboard (tand), which are used to store all kinds of unnecessary items, both large and small.

On these shelves, items that are not used daily are usually stored: old boxes, bags, clothes, decorative accessories, or other household items. Since they are high up, people often forget to clean them or postpone it due to laziness. Therefore, this area is cleaned only once a year. If the shelves are not cleaned for a long time, dust and cobwebs accumulate. If you want every corner of your home to be clean and shining for Diwali, you should not ignore cleaning the tand. Below are simple methods to clean the tand without extra effort.

Before starting to clean the tand, you must completely take out all the items that were on it. Each item should be wiped with a cloth to determine which items are still useful and which have not been used for a long time. Items that are not used should be separated. This will not only free up the tand but also simplify its subsequent organization.

If thick dust and cobwebs have accumulated on the shelves, you cannot immediately use a damp cloth. First, you should remove the dry dust and cobwebs using a dust collector with a long handle, a broom, or a microfiber dust collector. This approach will prevent the formation of a layer of dirt that could stick to the dust along with water. If the tand is located very high, instead of climbing onto a chair or stool, you should use a sturdy ladder. It is better to have someone below while cleaning.

Even after using a dust collector, if there is stuck dust remaining on the shelves, it can be wiped with a slightly damp microfiber cloth. It is important that the cloth is not too wet, otherwise, the moisture may damage the wood or other materials. In hard-to-reach corners, you can use an old clean cloth attached to a long pole or the end of a dust collector. This will make it easy to remove dust settled in the back of the shelf.

Cobwebs quickly form in corners and areas adjacent to the wall. To get rid of them, first use a dry dust collector or a broom. Do not try to pull the cobwebs by hand, as this can cause them to spread and leave dirt marks on the wall. If you have a vacuum cleaner, you can use its corner nozzle to easily clean these areas. This way, the dust will be collected directly into the vacuum cleaner, rather than scattering.

After the tand is cleaned, you should not immediately put things back on it. You need to let it dry completely. Then, the items should be arranged by category. Items that are used rarely are better placed at the back, and those that are used often—at the front. Clothes or paper goods are better stored in drawers or containers rather than left directly on dusty surfaces. This will reduce the effort required for the next cleaning.

By the end of the preparations for Diwali, attention should be paid not only to visible areas but also to places like the tand. Dust and cobwebs accumulated on high shelves can leave the entire house cleaning unfinished. Therefore, be sure to include cleaning the tand in your Diwali to-do list.

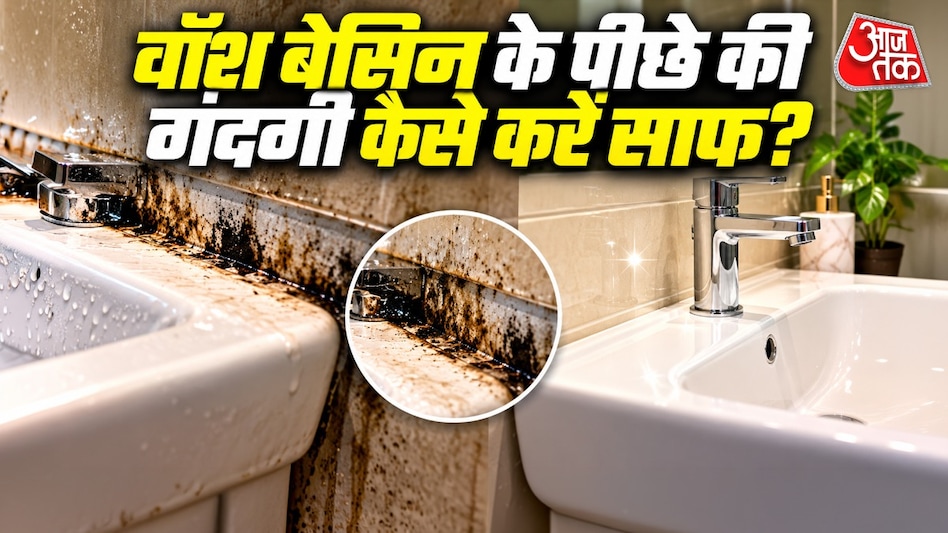
Ways to clean stained areas around the sink from ingrained dirt
Read more
www.aajtak.in

Ways to clean stained areas around the sink from ingrained dirt

People pay close attention to keeping the bathroom clean, cleaning floors, tiles, faucets, and the sink itself. However, the area behind the sink is often overlooked. Due to constant water splashes, soap usage, and high humidity, a slippery layer, water spots, and black grime gradually accumulate there. Sometimes this dirt becomes so old that it cannot be removed by simple wiping.

Since the space between the sink and the wall is often limited, it can be difficult to reach this area and perform a thorough cleaning. If you are also experiencing a problem with black dirt accumulation behind the sink, do not worry. With simple methods, appropriate products, and a little caution, this hidden corner can be kept clean. Below are simple ways to remove dirt accumulated behind the sink, as well as tips for preventing re-soiling.

First, dry dirt must be removed: before starting the cleaning behind the sink, all items such as bottles, soap dishes, etc., should be removed. Then, dust, hair, and debris should be cleaned with a dry cloth or an old toothbrush. If the distance between the sink and the wall is small, a small brush with a long handle can be used to more easily reach places that a regular cloth cannot reach.

To get rid of stubborn soap residue and water spots behind the sink, prepare a solution by mixing a little liquid dishwashing detergent with warm water. Soak a soft cloth in this solution, wring it out well, and wipe the dirty area. In heavily soiled areas, gently scrub with a brush, avoiding excessive friction to prevent scratching the sink and tiles. After cleaning, remove soap residue with a clean, damp cloth, and then thoroughly dry the area.

If dirt has accumulated behind the sink for a long time and is not removed by regular daily cleaning, you can use a suitable cleaner depending on the material. Before applying the cleaning agent, be sure to test it on a small, inconspicuous area. Use the product strictly according to the instructions on the packaging. It is important to remember that the same cleaner cannot be used for all types of materials; incorrect chemicals can damage sinks with glass, marble, or delicate finishes. Furthermore, never mix bleach with vinegar, acid, or any other cleaning agent, as this can release toxic gases.

Sometimes, black marks appearing behind the sink may not just be dust or soap scum, but mold caused by constant moisture. In such cases, simply wiping the surface is not enough. First, you need to determine the cause of the increased humidity. After cleaning, thoroughly dry this area and ensure ventilation in the bathroom. If black spots reappear repeatedly, or if you notice increased dampness on the wall or water pooling under the sink, you should check the pipe and faucet connections. A constant leak can lead to the re-formation of dirt and mold.

Maintaining cleanliness in the area behind the sink does not require hours of daily work. It is enough to incorporate several simple habits into your routine. It is recommended to clean once a week, wiping the back with a dry or slightly damp cloth. You must prevent water from accumulating behind the sink by removing it immediately. You should also regularly clean the edges of faucets and the sink from soap scum. Special attention should be paid to corners, using small brushes for areas that are difficult to reach with a cloth. After cleaning, it is important to remove moisture with a dry cloth instead of allowing it to evaporate.

5 home ways to clean greasy and smelly kitchen towels
Read more
www.aajtak.in

5 home ways to clean greasy and smelly kitchen towels

Kitchen towels are used very often when cooking—from wiping hands to cleaning stoves and countertops. Over time, they accumulate grease, oil, and spices, becoming sticky and dirty. Sometimes the contamination is so deep that even after multiple washes, the towels remain unclean, and an unpleasant odor begins to appear in them.

Instead of throwing away such towels or buying new ones, they can be cleaned using simple home methods. Five effective ways are presented that will help reduce greasiness and eliminate odors from kitchen rags.

1. Removing stubborn grease with hot water and detergent

If a layer of oil and fat has formed on the kitchen towels, hot water combined with dish soap will help. Dish soap is specifically designed to remove grease, and hot water helps loosen the grease residue. It should be remembered, however, that the water should not be too hot; the temperature must be adjusted according to the instructions on the towel's label.

2. Removing grease and odor with white vinegar

Sometimes, even after washing, the towels retain the smell of spices and oil. In such cases, white vinegar can be used, as it can help reduce dirt levels and get rid of unpleasant aromas.

3. Cleaning old stains and stickiness with baking soda

Baking soda is effective for removing old stains from spices and oil, and it also helps combat odors remaining in the fabric. If the grease on the towel is heavy, it is recommended to first treat the stain with a small amount of dish soap, and then soak it in a solution with baking soda.

4. Lightening oily and spicy stains with lemon

Yellow traces from turmeric, oil, and spices often appear on kitchen towels. Lemon can be used to remove them. However, it should be noted that lemon does not guarantee the complete disappearance of all types of stains. Before applying lemon juice to colored fabrics, always test its effect on an inconspicuous area, as the acid can cause discoloration. It is also not recommended to leave the towels with lemon in direct sunlight for a long time.

5. Proper washing and drying of towels

Relying only on folk remedies is not enough to keep kitchen towels clean; the correct washing and drying process is also crucial. If wet and greasy towels remain in one place for a long time, an unpleasant odor can intensify in them.

In this regard, the following recommendations must be observed:

Popular