Homemade Flaxseed and Aparajita Flower Gel Mask for Radiant Skin
Read more
Aaj Tak
www.aajtak.in

Homemade Flaxseed and Aparajita Flower Gel Mask for Radiant Skin

As the sacred festival of Diwali approaches, it becomes increasingly difficult to focus on facial beauty amidst cleaning and shopping. If you wish to avoid expensive and chemical salon procedures but want your skin to look fresh, toned, and youthful, then a homemade gel mask made from flaxseeds and Aparajita flowers, which is in your kitchen, will be very useful.

Flaxseeds are called natural Botox or plant collagen because they promote skin elasticity, while Aparajita flowers are rich in antioxidants that give the face a beautiful and natural glow. Below is the correct way to prepare and use this mask.

To prepare, you will need: 2 tablespoons of flaxseeds, 6-8 fresh or dried Aparajita flowers, 1–1.5 cups of water, 1 teaspoon of aloe vera gel (for a smooth texture), and a few drops of rose water.

Hot Filtration: After boiling the mixture of flaxseeds and flowers, when it becomes slightly warm, it should be immediately strained through a cotton cloth or sieve. If allowed to cool, the flaxseed gel will become very thick and difficult to filter.

Collagen Booster: Flaxseeds contain a high amount of omega-3 fatty acids that regenerate skin cells, and Aparajita flowers provide the skin with a natural rosy glow.

Boiling the Gel: Take 1.5 cups of water in a saucepan and add the flaxseeds and Aparajita flowers. Boil over medium heat for 7–8 minutes until the water thickens and takes on the appearance of a clear gel.

Straining: Turn off the heat and immediately transfer the mixture into a clean cotton cloth, squeezing the gel thoroughly into a separate container.

Adding Additional Ingredients: To this strained blue-purple gel, add 1 teaspoon of aloe vera gel and a few drops of rose water, then mix well. Your homemade gel mask is ready.

Application: Thoroughly cleanse your face, then evenly apply this gel to your entire face and neck using a brush or fingers. Leave the mask on your face for 20 minutes, after which rinse it off with clean water. Finish the treatment by applying a light moisturizing cream.

Similar stories

How to make natural shampoo from retta and hibiscus at home, avoiding chemicals
Read more
www.aajtak.in

How to make natural shampoo from retta and hibiscus at home, avoiding chemicals

Modern expensive shampoos and hair care products often contain many harmful chemical substances, such as sulfates and parabens, which weaken the hair from the inside. This leads to hair loss, premature graying, and loss of shine. If you strive for strong and clean hair without chemicals, you can apply a traditional method known since ancient times. The combination of retta and hibiscus flowers is a real blessing for hair: retta provides deep cleansing, while hibiscus makes hair soft, thick, and shiny.

Below is a simple instruction on how to prepare this remedy at home.

The following ingredients are needed for preparation: 10-12 dried rettas (without seeds), 5-6 fresh or dried hibiscus flowers, 4-5 hibiscus leaves (optional), 3-4 cups of water, and 1 tablespoon of shikakai or amla powder (if available).

First, you need to remove the seeds from the retta and soak it together with the hibiscus flowers in 3-4 cups of water overnight in one container. In the morning, this mixture should be placed on the stove and slowly boiled for 15-20 minutes so that all the beneficial substances from the retta and hibiscus dissolve in the water. When the mixture thickens and the retta becomes soft, turn off the heat and let it cool. Then, it should be thoroughly rubbed (crushed) by hand and strained. (It is advisable to separate the foaming and smooth liquid).

Your homemade natural herbal shampoo is ready. When washing your hair, apply it to wet hair, gently massage the scalp, and leave it on for 2-3 minutes, then rinse with clean water. This natural shampoo can be stored in an airtight bottle in the refrigerator for up to one week.

How to make natural aloe vera gel at home from two ingredients
Read more
www.aajtak.in

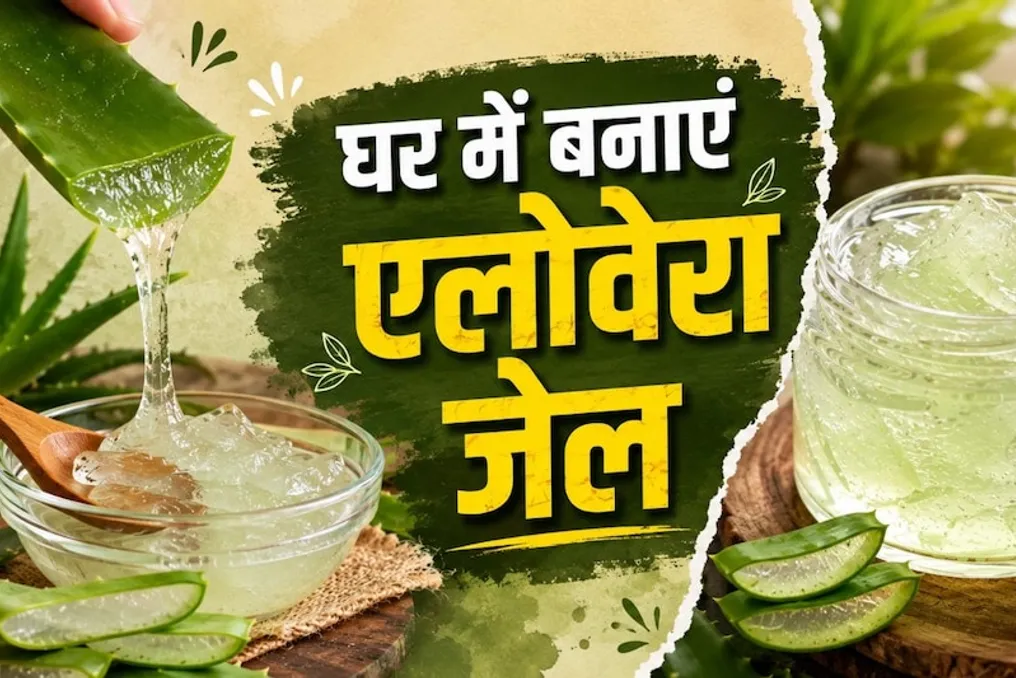
How to make natural aloe vera gel at home from two ingredients

Aloe vera gel is widely used in homemade remedies to improve the condition of skin and hair. However, many consumers buy expensive and branded gels in stores that may contain harmful chemicals, artificial dyes, synthetic fragrances, and preservatives, which can potentially harm the skin in the long term.

If you prefer to use an absolutely pure, natural, and chemical-free aloe vera gel, you can easily prepare it yourself from fresh leaves. When following the correct method, the prepared gel remains for months and stays transparent.

The following components are required for preparation: 2-3 fresh, thick aloe vera leaves, and one tablespoon of lemon juice or 2 Vitamin E capsules, which serve as natural preservatives.

First, you need to break or cut the fresh aloe vera leaves and let them sit for about 30 minutes. This step is important because it allows the toxic and bitter yellow latex, called aloin, which can cause itching on the skin, to be released.

Next, remove the spiny edges from both sides of the leaves. Then, using a knife or spoon, you need to peel off the top green skin and extract the clear pulp, collecting it in a clean bowl.

The extracted aloe vera pulp is placed in a blender jar. One tablespoon of lemon juice or a capsule of Vitamin E oil is added to this mixture. The blender is turned on for a few seconds to thoroughly blend the contents into a smooth and foamy gel.

The finished natural gel should be poured into an airtight glass container and stored in the refrigerator. Thanks to the addition of Vitamin E or lemon juice, this gel stays fresh and does not spoil for more than a month.

This pure homemade gel can be applied to the face, skin, or hair to enjoy a natural glow.

How to make a Multani Mitti mask at home to improve skin condition
Read more
www.aajtak.in

How to make a Multani Mitti mask at home to improve skin condition

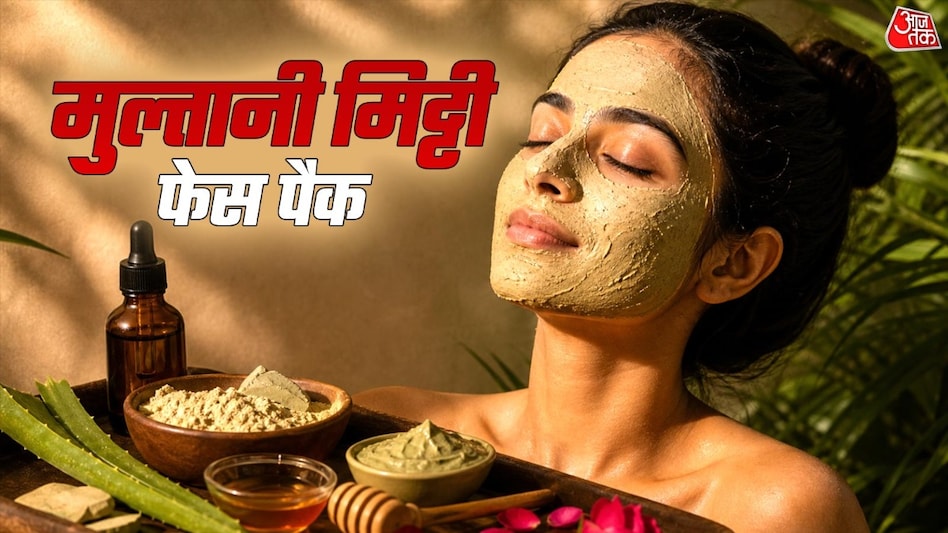
Everyone desires clear, soft, and radiant skin. However, due to dust, pollution, stress, and poor nutrition, the skin can face various problems. In such cases, many people resort to homemade skincare remedies. Multani Mitti is one such folk remedy that helps reduce skin issues. Below is a guide on how to prepare and apply a Multani Mitti mask adapted to your skin type to ensure optimal care.

Multani Mitti Mask for Different Skin Types

For oily skin: If your skin tends to be oily and you often feel stickiness on your face, you can prepare a paste by mixing Multani Mitti with a small amount of rose water. Apply this mixture to your face and leave it on for approximately 10 minutes. Afterwards, rinse your face with regular water. Multani Mitti is capable of removing excess oil from the face, giving it a fresh and clean look.

For dry skin: If your skin is dry, instead of adding rose water to the Multani Mitti, use aloe vera gel and yogurt to prepare the mask. Apply it to your face and rinse with cold water after about 10 minutes. After the procedure, do not forget to apply a moisturizing cream to your face.

To give skin radiance: To achieve radiant skin, prepare a paste by thoroughly mixing Multani Mitti with turmeric, honey, and lemon juice. Apply this mask to your face and leave it on for 10–15 minutes. Then, rinse your face with cool water. Regular use of this mask makes the skin soft and radiant.

Important Points to Consider

Before applying the Multani Mitti mask, always perform a patch test on a small area of skin. If you notice redness, itching, or irritation on your face, stop using the product immediately. For the first application, it is recommended to apply the mask only for a short time and not let it dry completely. Also, after rinsing off the mask, be sure to use a moisturizing cream.

Disclaimer: This information is provided for informational purposes only. Before making any changes to your skincare routine, remember to consult a specialist.

Popular