Ways to clean stained areas around the sink from ingrained dirt
Read more
Aaj Tak
www.aajtak.in

Ways to clean stained areas around the sink from ingrained dirt

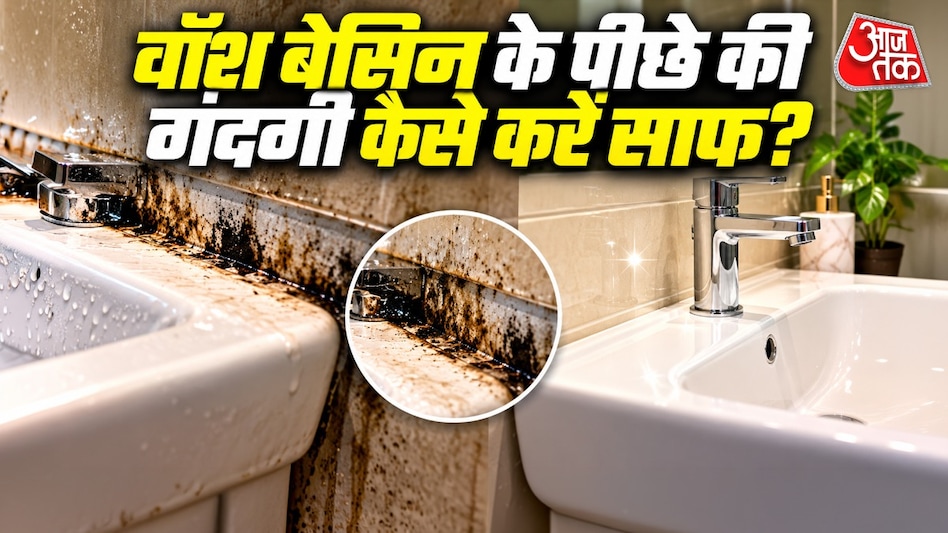
People pay close attention to keeping the bathroom clean, cleaning floors, tiles, faucets, and the sink itself. However, the area behind the sink is often overlooked. Due to constant water splashes, soap usage, and high humidity, a slippery layer, water spots, and black grime gradually accumulate there. Sometimes this dirt becomes so old that it cannot be removed by simple wiping.

Since the space between the sink and the wall is often limited, it can be difficult to reach this area and perform a thorough cleaning. If you are also experiencing a problem with black dirt accumulation behind the sink, do not worry. With simple methods, appropriate products, and a little caution, this hidden corner can be kept clean. Below are simple ways to remove dirt accumulated behind the sink, as well as tips for preventing re-soiling.

First, dry dirt must be removed: before starting the cleaning behind the sink, all items such as bottles, soap dishes, etc., should be removed. Then, dust, hair, and debris should be cleaned with a dry cloth or an old toothbrush. If the distance between the sink and the wall is small, a small brush with a long handle can be used to more easily reach places that a regular cloth cannot reach.

To get rid of stubborn soap residue and water spots behind the sink, prepare a solution by mixing a little liquid dishwashing detergent with warm water. Soak a soft cloth in this solution, wring it out well, and wipe the dirty area. In heavily soiled areas, gently scrub with a brush, avoiding excessive friction to prevent scratching the sink and tiles. After cleaning, remove soap residue with a clean, damp cloth, and then thoroughly dry the area.

If dirt has accumulated behind the sink for a long time and is not removed by regular daily cleaning, you can use a suitable cleaner depending on the material. Before applying the cleaning agent, be sure to test it on a small, inconspicuous area. Use the product strictly according to the instructions on the packaging. It is important to remember that the same cleaner cannot be used for all types of materials; incorrect chemicals can damage sinks with glass, marble, or delicate finishes. Furthermore, never mix bleach with vinegar, acid, or any other cleaning agent, as this can release toxic gases.

Sometimes, black marks appearing behind the sink may not just be dust or soap scum, but mold caused by constant moisture. In such cases, simply wiping the surface is not enough. First, you need to determine the cause of the increased humidity. After cleaning, thoroughly dry this area and ensure ventilation in the bathroom. If black spots reappear repeatedly, or if you notice increased dampness on the wall or water pooling under the sink, you should check the pipe and faucet connections. A constant leak can lead to the re-formation of dirt and mold.

Maintaining cleanliness in the area behind the sink does not require hours of daily work. It is enough to incorporate several simple habits into your routine. It is recommended to clean once a week, wiping the back with a dry or slightly damp cloth. You must prevent water from accumulating behind the sink by removing it immediately. You should also regularly clean the edges of faucets and the sink from soap scum. Special attention should be paid to corners, using small brushes for areas that are difficult to reach with a cloth. After cleaning, it is important to remove moisture with a dry cloth instead of allowing it to evaporate.

Similar stories

How to clean window and door mosquito screens without using water pressure in 4 simple steps
Read more
www.aajtak.in

How to clean window and door mosquito screens without using water pressure in 4 simple steps

As Diwali approaches, many people are preparing to tidy up their homes, and cleaning the screens on doors and windows is an important part of this process. Often, people clean floors, fans, and the windows themselves, but they avoid cleaning metal screens from accumulated dust and dirt because it takes a lot of time. Sometimes people try to wash the screens with hose water, but this only temporarily improves the appearance, as a thick layer of grime forms on them again, spoiling the look of a clean home.

Especially near the kitchen, sticky grease and smoke accumulate on the screens. Cleaning such screens usually takes many hours and effort. However, if you think that expensive cleaning agents are needed for this task, you are mistaken. With ordinary hot water, detergent, and liquid soap available at home, you can easily clean a dirty screen without extra effort.

To clean a metal screen on a door or window, you will need some common items that are easy to find at home.

Due to the accumulation of dust, dirt, and grease, cleaning a metal screen becomes a difficult task. In this case, a solution of hot water and detergent will help loosen the grime. First, you need to fill a basin with enough hot water that can be used safely, provided the water is not too hot.

Next, add a little washing powder and liquid dish soap to the water and mix thoroughly. Then, wet a sponge or soft cloth in this solution and gently apply it to the screen, trying to clean every part of it.

After applying the solution, leave it for about 10–15 minutes so that the settled dust and grease become soft. After that, carefully scrub the screen with a sponge or a soft brush. This will allow the dirt to come off easily, and you won't have to exert excessive effort.

After finishing the cleaning, wipe the screen with a clean, slightly damp cloth to remove any soap and detergent residue. Then, dry the screen completely with a dry cloth. It is important to avoid prolonged contact of water with the metal screen, as this increases the risk of rust.

When cleaning a metal screen, avoid scrubbing hard. If the screen is painted, test the solution on a small area first to minimize the risk of paint damage. Furthermore, if there is already rust or peeling paint on the screen, simple soap and water may not be enough to completely eliminate the problem.

It should also be remembered that you should not use excessively hot water for cleaning, and when working with the screen, you must protect adjacent wooden doors or electrical switches from getting wet.

By applying this simple method, you can clean regular dirt from door and window screens before Diwali. This will make the house cleaner and save you unnecessary hassle in preparing for the holiday.

Criteria to consider when selecting bathroom materials
Read more
g1.globo.com

Criteria to consider when selecting bathroom materials

The bathroom concentrates several functionalities in a small space, encompassing the countertop, bathing area, toilet, and circulation areas. Due to this integration, careful planning must precede the choice of colors, shapes, or finishes, as an attractive item in the store may not have the ideal dimensions or characteristics for the available environment.

The initial process requires exact measurement of the room. The arrangement of doors and drawers, the distances between components, and the necessary space for movement directly affect the internal layout. In the case of the countertop, defining the sink impacts its height, depth, and the free area for supports. Simultaneously, the location of the toilet must take into account existing plumbing points and the necessary comfort for use.

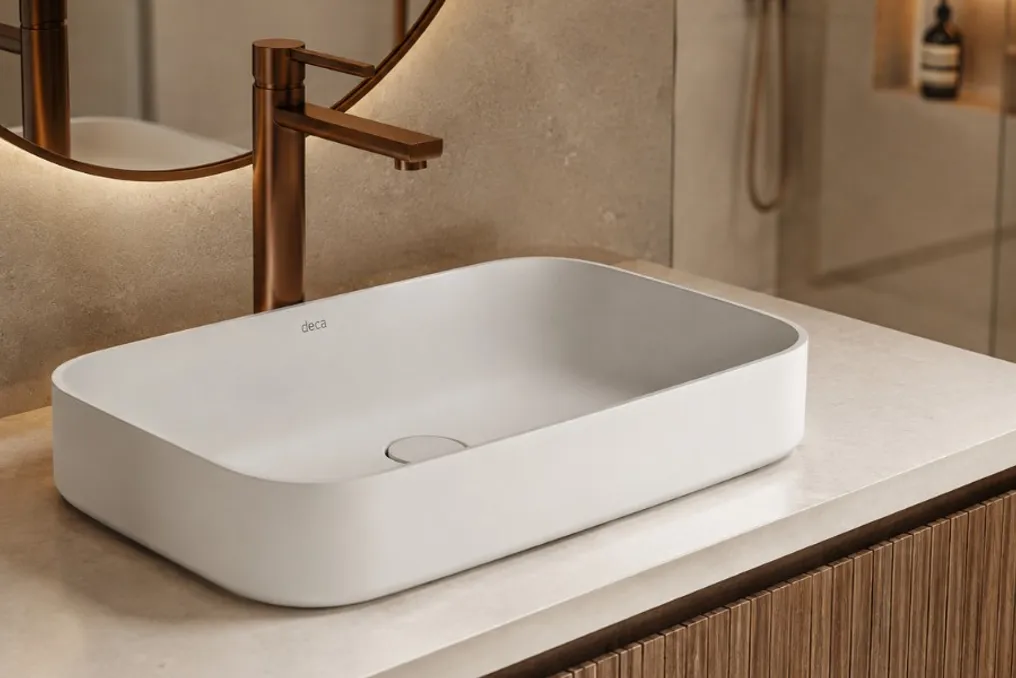
The proportion and installation method of items such as the Deca Slim Round Support Sink illustrate the need for planning. This support model, with a diameter of 40 centimeters, requires that the height and depth of the countertop be calculated taking the piece into account. Therefore, before purchasing, it is crucial to analyze not only the design but also the interaction of the piece with the furniture, metals, and the surrounding space.

The area designated for bathing demands specific analysis, as it comes into direct contact with water. It is essential to select materials resistant to this condition, paying attention to the floor surface, its slope, and the number of joints. On the walls, the shape and pattern influence both the final aesthetic and ease of maintenance. Larger tiles can reduce the visibility of grout, while different textures require particular cleaning care.

The Calacata Oro 90x90, manufactured by Biancogres and inspired by light marbles with defined veins, demonstrates how the selection of cladding must consider the architectural whole. Before applying it, it is essential to check the specific finish and the manufacturer's recommended use, in addition to planning cuts and patterns, allowing aesthetics to go hand in hand with the technical requirements of each section.

The choice of the toilet goes beyond mere design; its dimensions, shape, type of installation, and the position of plumbing points directly influence the circulation and organization of the bathroom. In smaller spaces, small differences of a centimeter can be decisive in passing between the countertop, the bathing area, and other elements.

Another relevant aspect is what happens after the renovation. The ease of cleaning corners, the amount of grout, the junction between the countertop and the sink, and the durability of the surfaces constitute the bathroom routine. Considering these details during planning can prevent visually pleasing but impractical solutions for daily use.

At Vilarejo, the physical comparison of products allows for the evaluation of dimensions, finishes, and combinations before making any decision. With the bathroom measurements in hand, it becomes easier to determine which products are suitable for each application and how the sink, toilet, metals, and coverings will integrate into the same environment.

A well-designed bathroom is not based on a single component. Its beginning lies in the joint consideration of measurements, circulation flow, installations, and materials. Although appearance remains a factor in the choice, it shares space with crucial decisions that will define the functionality of the environment daily.

Switch Cleaning Tips: How to Clean Dirty and Yellowed Panels Using Kitchen Products
Read more
www.aajtak.in

Switch Cleaning Tips: How to Clean Dirty and Yellowed Panels Using Kitchen Products

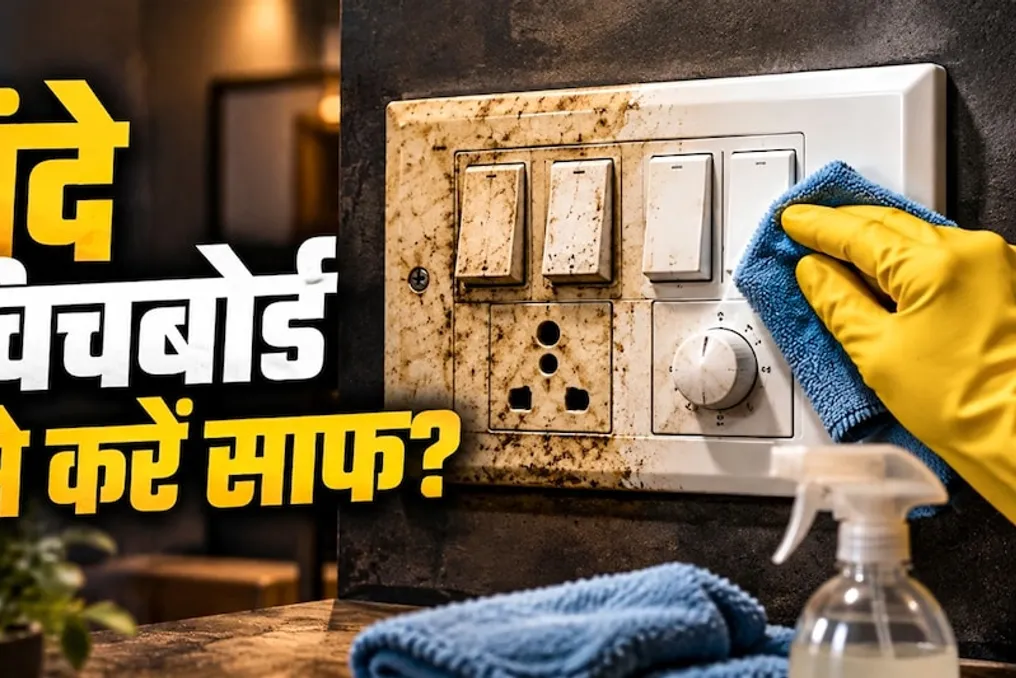
When cleaning the house, people often focus on the floor, kitchen, windows, and furniture; however, there is another item whose cleaning tends to be postponed—the wall switches. These switches, used daily to turn on lights, fans, and other electrical appliances, become dirty and yellow over time. They get particularly soiled near the kitchen, where dust mixes with grease and lubricant, making the surface sticky.

In such cases, many people buy expensive cleaning agents, whereas simple items found in the kitchen can be used for cleaning. With some kitchen ingredients, it is easy to restore dirty, yellowed, and dusty switches to their original appearance. Nevertheless, extreme caution must be observed when cleaning switches. Below are seven simple methods that will help remove dirt from the switches.

  1. Removing stubborn stains with baking soda: Baking soda is used not only for cooking but also for cleaning various items. It can easily clean switches. It can be applied to remove dirt around them. Mix it into a thick paste and gently rub the switch with a soft cloth or an old toothbrush. This will help eliminate accumulated dirt and restore shine.
  2. Cleaning grease with white vinegar: White vinegar has acidic properties capable of removing certain types of stains and grease. To clean a switch this way, dampen a cloth with a small amount of vinegar and then proceed with cleaning.
  3. Removing yellowing with lemon juice: Lemon juice is used to clean various stains in the home. Its acidic properties can help reduce stains on some surfaces. For light spots and yellowing, it is best to apply the juice to a cloth rather than applying it directly to the switch.
  4. Using salt: Salt can act as an abrasive. It helps separate ingrained dirt. Many use salt in combination with lemon or vinegar for cleaning.
  5. Dish soap: Dishwashing liquid, intended for washing dishes, can also help bring shine to switches. It is effective for removing grease and oil. A few drops of this agent diluted in water can be used to wipe the switch with a cloth.
  6. Toothpaste: Toothpaste is also included in the list of cleaning agents. It is used not only for teeth but also for cleaning. Gently rubbing the paste with a soft brush can reduce stains.
  7. Cornstarch: Cornstarch is capable of absorbing excess grease and dust. It can be used together with a dry cloth, especially if a lot of grease has accumulated on the switch.

When cleaning switches, it is necessary to ensure that the power supply is completely turned off. Simply flipping the switch does not guarantee a complete cessation of electricity supply. Therefore, before starting work, you should de-energize the line through the main switch or circuit breaker. It is strictly forbidden to apply water, vinegar, lemon juice, or any other liquids directly onto the switch. You must also not touch the switch with wet hands or clean it while the electricity is on. If dirt is found inside the panel, if it is loose, or if signs of burning are visible, you should call an electrician instead of cleaning it yourself.

Popular