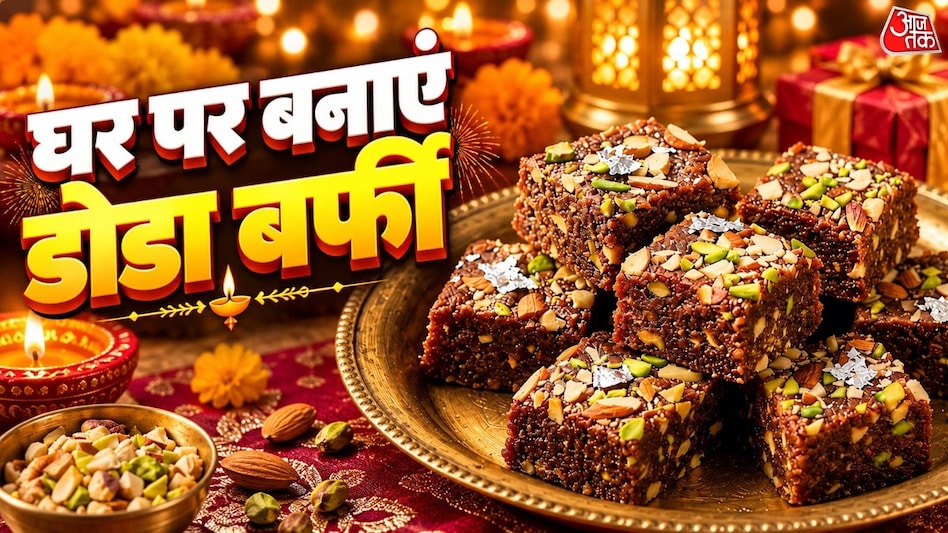
Recipe for Homemade Dooda Barfi: Preparing the Traditional Indian Sweet from Milk and Grain
Read more
Aaj Tak
www.aajtak.in

Recipe for Homemade Dooda Barfi: Preparing the Traditional Indian Sweet from Milk and Grain

As the holiday season approaches, homes fill with the aromas of various sweets. Dooda Barfi, known in Punjab, is valued across the country for its characteristic grainy texture, rich flavor, and chocolatey hue. This easily meltable sweet has an exceptional taste, but store-bought Dooda Barfi is often expensive and may contain impurities.

Instead of buying sweets from stores for holidays, you can make just as delicious and pure Dooda Barfi at home using milk and grain, just like professional confectioners do. Below is the simplest instruction and secret tips for preparing it.

The following ingredients are required for preparation: 2 liters of premium whole milk, 2 tablespoons of grain (dalia), 1 tablespoon of yogurt or lemon juice (to give the milk a slight graininess), 1 cup of sugar or powdered sugar (to taste), 1 tablespoon of glucose syrup or honey (to achieve a chewy and rich texture), 1 teaspoon of cocoa powder or chocolate syrup (optional, for a traditional dark color), and 3-4 tablespoons of pure ghee. For decoration, half a cup of chopped nuts (almonds, pistachios, cashews) is needed.

The authentic graininess of Dooda Barfi is achieved by using the grain (dalia). The grain is first roasted in ghee, and then added to the milk, which ensures its perfect texture. Slow cooking is crucial: the milk should be stirred constantly over medium or low heat until it achieves a brown and rich color.

Start by heating 1 teaspoon of ghee in one pan and roasting 2 tablespoons of grain until golden brown. Then add a little milk and set this mixture aside. In a large, thick-bottomed pot, bring 2 liters of whole milk to a boil. When the volume of the milk has reduced by half, stir in the roasted grain.

Next, add a small amount of acid (a few drops of yogurt or lemon juice) to the milk so that fine grains begin to form in the milk. It is necessary to stir the mixture continuously so that it does not burn to the bottom. When the milk becomes completely thick, gradually add the sugar (or molasses) and continue adding ghee. Cook the mixture until it starts to separate from the sides of the pot and acquires a deep brown hue.

Finally, add the chopped almonds, pistachios, and cardamom powder, and mix thoroughly. Grease a plate or mold with ghee, spread the resulting mass evenly, and sprinkle extra nuts on top, pressing them lightly. After it cools completely, cut the barfi into square pieces. The finished homemade Dooda Barfi will have a delightful and pure taste.

Similar stories

How to make delicious mint snacks (matthi) at home from wheat flour and semolina
Read more
www.aajtak.in

How to make delicious mint snacks (matthi) at home from wheat flour and semolina

Besides fruits, nuts, and fani, which are traditionally served during Sargi on Karva Chauth, sweet matthi is also often prepared. However, many women prefer the savory versions that they buy in stores. Products purchased from retail outlets may contain impurities and low-quality oils, which is unhealthy.

If you want to make crispy, tasty, and just as appetizing matthi at home as in the store, it is very simple. You can use wheat flour or semolina for preparation. Savory matthi is a favorite snack in Indian families, whether during evening tea time or when hosting guests. This matthi, made by adding semolina to flour, turns out not only very crispy but also keeps well for a long time.

The following ingredients are needed for preparation: 2 cups of wheat flour or semolina, 0.5 cup of semolina, 1 teaspoon of dill, 1 tablespoon of dried mint, 0.5 teaspoon of ground black pepper, salt to taste, 4-5 tablespoons of oil or ghee for kneading, and oil for frying.

The first secret to achieving a crispy and crumbly texture for matthi is the correct addition of fat (moin). You must thoroughly rub the oil or ghee with the flour and semolina using both hands for 2-3 minutes. When the dough starts to hold its shape, it means the moin has been added perfectly. The second important point is to use warm water for kneading the dough and to definitely knead it into a dense form, avoiding a soft dough.

In a bowl, mix the flour, semolina, dill, dried mint, ground black pepper, salt, and fat (oil/ghee). Then gradually add warm water to form a dense dough, and leave it covered for 15-20 minutes so that the semolina swells.

Divide the dough into small pieces, shape them into matthi, gently pressing or rolling them by hand. The third important trick: after rolling, make small holes in the matthi using a fork or knife. This will prevent the matthi from puffing up during frying and ensure even crispy cooking.

Heat the oil in a pan and fry the matthi over very low heat on both sides until golden and crispy.

How to make homemade pure butter from cream: a simple recipe
Read more
www.aajtak.in

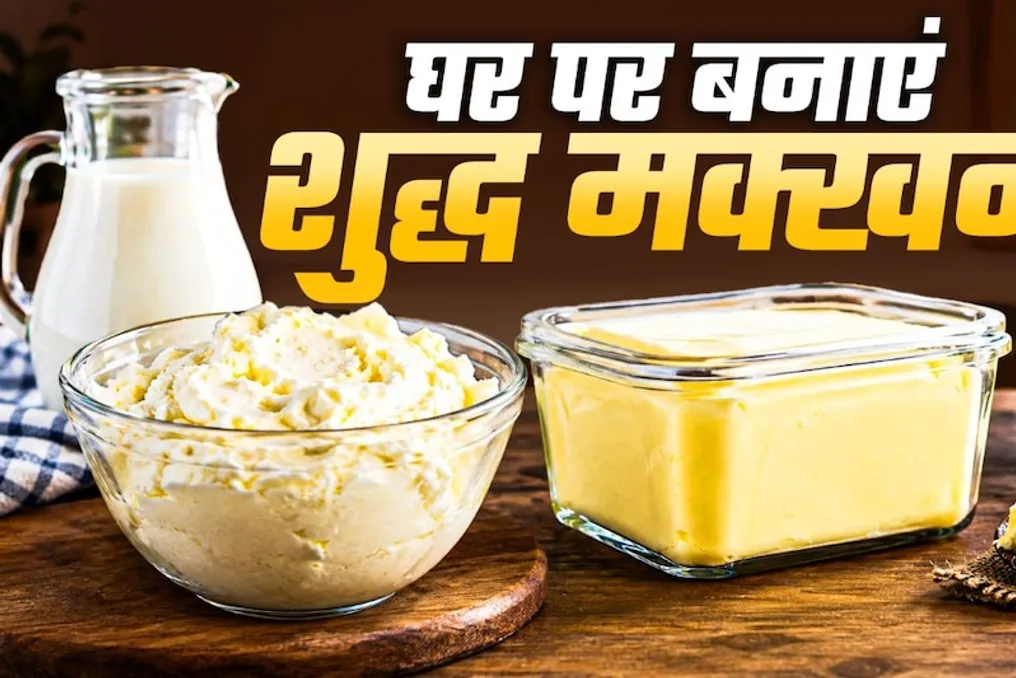
How to make homemade pure butter from cream: a simple recipe

Consuming expensive and counterfeit butter sold in stores can negatively affect the health of both children and adults. If you are looking for a pure product and want to get a whole jar of real butter at home without unnecessary hassle, you no longer need to whip cream for hours or use a blender. With this simple and time-tested method used by grandparents, you can easily prepare a large amount of pure and creamy butter from milk cream. The advantage of this method is that besides butter, clean yogurt is also produced.

For preparation, you will need: collected milk cream, which has been gathered over 10-12 days; 1-2 cups of cold water with ice; a pinch of salt (if you want to make salted butter).

First, prepare the cream: collect the cream that forms when boiling milk and store it in the refrigerator or freezer. Two hours before starting the preparation, take the cream out of the refrigerator to reach room temperature.

Whip the cream (the main secret): Place the cream in a large bowl or pot. Then, whip it continuously in one direction for 5-7 minutes using a whisk, hand mixer, or spoon. Soon, the cream will begin to slightly separate, and its texture will change.

Add the ice water: When the cream begins to form a grainy mixture, add 1-2 cups of cold water with ice. Adding cold water helps the butter immediately float to the surface, while the yogurt settles at the bottom.

Separate the butter: Using your hands or a ladle, collect all the floating butter and transfer it to a separate container. Rinse the butter 1-2 times with clean cold water to remove any remaining milk.

Storage: Your absolutely pure, homemade creamy butter is ready! It can be stored in an airtight container in the refrigerator for 1-2 weeks. The liquid left at the bottom is a delicious yogurt that can be used to make curry or drunk.

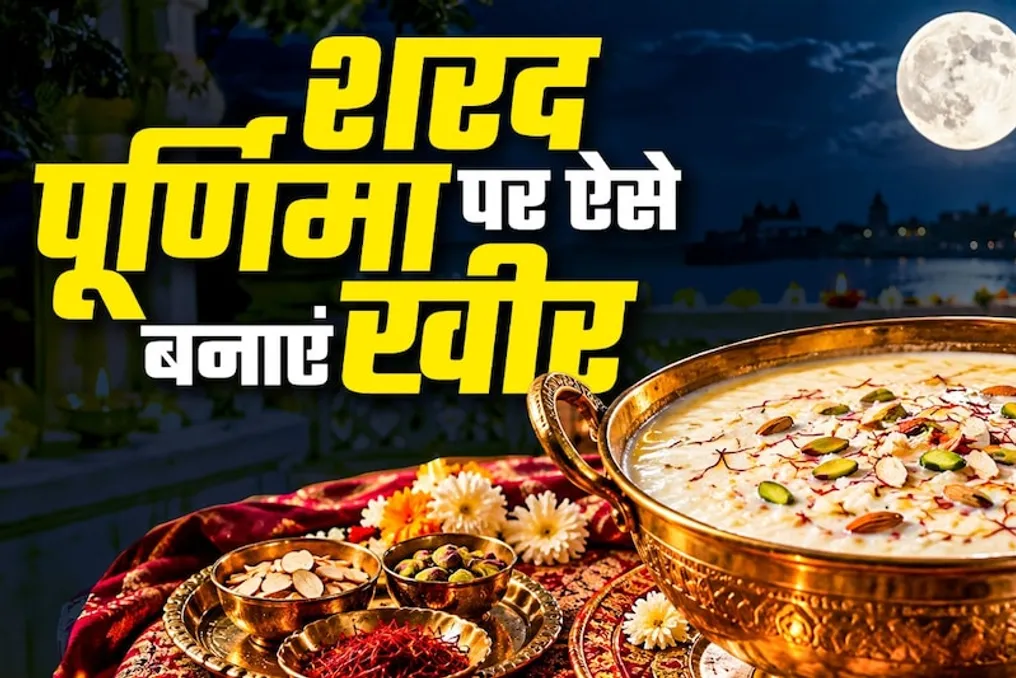
How to make creamy rice kheer for Sharad Purnima without dry milk
Read more
www.aajtak.in

How to make creamy rice kheer for Sharad Purnima without dry milk

Sharad Purnima holds special religious and health significance. This year it falls on October 25th. It is believed that the moon showers nectar on this night, so traditionally kheer is left outdoors overnight to be eaten as prasad in the morning.

However, complaints often arise that when making kheer at home, the milk and rice remain separated, or the dish does not turn out as creamy as rabri. If you want to prepare a thick, creamy, and aromatic kheer for Sharad Purnima without using mawa (dry milk) or condensed milk, you should apply several culinary secrets passed down by grandparents. We present the simplest and most reliable way to prepare kheer, similar to an elixir.

How to make kheer at home:

Ingredients:

  • 1 liter of whole milk
  • 1/4 cup of small grain rice (such as Govindobhog or Basmati-torka)
  • 1/2 cup of sugar (to taste)
  • 8-10 strands of saffron (soaked in 2 teaspoons of warm milk)
  • 1/2 teaspoon of green cardamom powder
  • 1 large tablespoon of ghee
  • Finely chopped nuts (almonds, cashews, pistachios, and chiranga)

Preparation method:

The rice must be washed and soaked in water for 20 minutes. Then, the water is drained, and the rice is lightly mashed with hands. In a pot, heat 1 teaspoon of ghee and fry the rice for 1 minute. (Frying in oil gives the kheer a special aroma, and the rice does not stick to the bottom of the pot).

In a heavy pot or kazan, splash a little water (so the milk does not burn) and pour in the whole milk, bringing it to a boil over high heat. After boiling, add the fried rice to the pot. Reduce the heat to minimum and cook the kheer, stirring occasionally, until the rice is completely cooked and the volume of the milk has reduced by half.

When the rice is well cooked, scrape up the cream formed around the edges of the pot and mix it into the milk. Also, take a little rice and milk in a spoon and lightly mash it near the edge of the pot; this will give the kheer a thickness similar to rabri.

After the kheer thickens, add the sugar, soaked saffron, cardamom powder, and chopped nuts. (It is important to remember that sugar should only be added after the rice is completely cooked, otherwise, the rice will remain raw).

After the sugar dissolves, cook for another 3-4 minutes over low heat, then turn off the gas. The finished, very creamy, and delicious kheer for Sharad Purnima is ready! It should be transferred to a bowl and covered with a clean vessel or silver container to leave overnight under the moonlight.

Popular