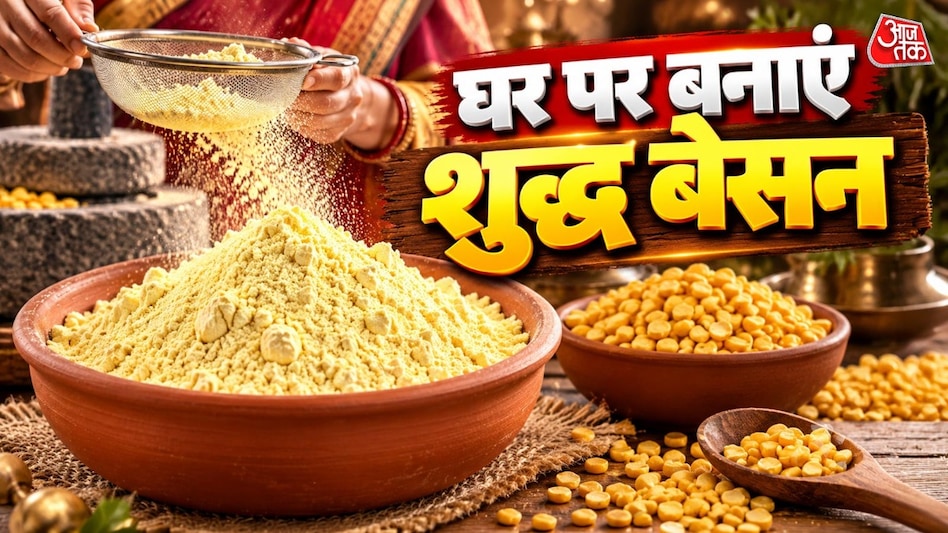
How to Make Pure Besan at Home: Two Methods Using Chickpea Flour
Read more
Aaj Tak
www.aajtak.in

How to Make Pure Besan at Home: Two Methods Using Chickpea Flour

Besan is one of the most essential ingredients in Indian cuisine, as it is used to prepare dishes such as pakora, curry, chila, laddu, and many other delicious snacks. Furthermore, various sweets are made from besan during festivals, so it is often present in most homes. However, some people worry about the purity of besan purchased from stores. In such cases, you can prepare besan yourself from chickpea flour, which does not require many ingredients. This article presents two simple methods for making besan at home that will allow you to easily obtain a fresh product.

How to make besan at home:

To make besan at home, you will need 500–600 grams of chickpea flour. There are two approaches to preparation.

First method: preparation without roasting

To prepare besan without prior roasting, you must first thoroughly clean the chickpea flour. Then, this flour should be dried in bright sunlight for one to two days to completely remove moisture. When the flour is completely dry and hard, gradually add it to a dry blender jar and grind it into a fine powder. The resulting besan should be sifted through a fine sieve. If large particles remain in the sieve, they can be ground and sifted again. Thus, the besan will be ready for use at home.

Second method: preparation by roasting in a pan

If you prefer lightly roasted besan, first clean the chickpea flour and dry it in the sun for one day. After that, heat a pan and add the flour, roasting it over low heat for 3–4 minutes. It is important to monitor so that the color of the flour does not become too dark and does not burn. Then, let the flour cool completely. After cooling, grind it in the blender in small batches. The finished besan needs to be sifted through a sieve, and any remaining large particles can be ground again. This way, your besan will be ready for use.

To ensure that besan remains in good condition for a long time, proper storage is crucial. After cooling completely, the besan should be placed in a clean, dry, airtight container. A glass jar can be used. When taking out besan each time, use a dry spoon and close the container lid tightly. Store the besan away from moisture and heat to prevent clumping and premature spoilage. If the besan has an unpleasant odor or insects appear in it, its use should be stopped.

Homemade besan can be used to create many recipes. From it, you can make besan laddus, besan barfi, curry, chila, and pakora. Additionally, you can prepare onion pakora, bread pakora, cheese pakora, as well as various vegetable dishes based on besan. If you like crunchy snacks, you can make a dish like besan chakli.

Important note: For preparing besan from chickpea flour, it is critically important that the flour is completely dry. If moisture remains in the flour, it will be difficult to grind, and this will negatively affect the quality of the besan. Therefore, be sure to dry the flour thoroughly and always store the besan in clean, dry containers.

Similar stories

Raj Rani Paratha Recipe in Gujarati Style with Filling and Sauces
Read more
www.aajtak.in

Raj Rani Paratha Recipe in Gujarati Style with Filling and Sauces

Paratha is a popular breakfast dish in North India that is enjoyed immensely. Although many have tried parathas with potato, cabbage, and turnip, it is worth trying the Gujarati Raj Rani Paratha, which stands out for its taste and color combination, making it a royal dish.

This type of paratha is traditionally prepared in the city of Surat, Gujarat state. Its specialty lies in having a filling of vegetables and cheese, and it is topped with Sriracha sauce, mayonnaise, and cheese, giving it a tangy flavor. Visually, it resembles a pizza and can be served cut into small pieces. It can be made for a children's lunch or for a weekend breakfast.

Raj Rani Paratha Recipe

Ingredients for the dough:

Ingredients for the filling and topping:

How to make Gujarati Raj Rani Paratha?

First, you need to knead the dough. In a bowl, mix wheat flour, besan (chickpea flour), salt, and a little oil. Then, using water, knead a soft but well-binding dough. Cover the dough and let it rest for 10–15 minutes to make it easier to roll out the paratha.

Next, prepare the spicy vegetable filling. Heat a little oil or butter in a pan, sautéing garlic paste and finely chopped onion until lightly browned. Then, add carrots, beetroot, cabbage, bell pepper, boiled corn kernels, and French beans. Add mashed potatoes and grated cheese to them. Season the mixture with turmeric, red chili powder, coriander powder, coriander-cumin blend, chatni masala, and a small amount of magic masala. Finally, add green garlic leaves and fresh green coriander. Cook the filling for some time, then let it cool so that it does not leak out when shaping the paratha.

After this, take a ball of the kneaded dough and roll it out slightly. Place the prepared vegetable filling in the center, fold the edges, and gently roll out the paratha, ensuring the filling remains inside.

First, lightly fry the rolled paratha on a hot griddle on both sides. Then, brush the edges with oil and cook over medium heat until crispy. It is important to allow the paratha to cook completely so that the dough is not raw.

To achieve the signature Raj Rani look, drizzle a little Sriracha sauce and mayonnaise on the cooked paratha. Add the remaining vegetable filling, grated cheese, and hard cheese. It is advisable to cover it and cook on low heat for a few minutes so that the cheese melts. Finish by garnishing with fresh green coriander.

The hot Raj Rani Paratha is cut into small pieces, like pizza. It can be served with green chutney, tomato sauce, or cold yogurt. This paratha, rich in vegetables, cheese, and dairy products, turns out very tangy and delicious.

A small tip: when preparing the filling, do not add too much water, otherwise the paratha may tear while rolling. The mayonnaise and Sriracha sauce can be adjusted to your taste to avoid excessive spiciness or heaviness.

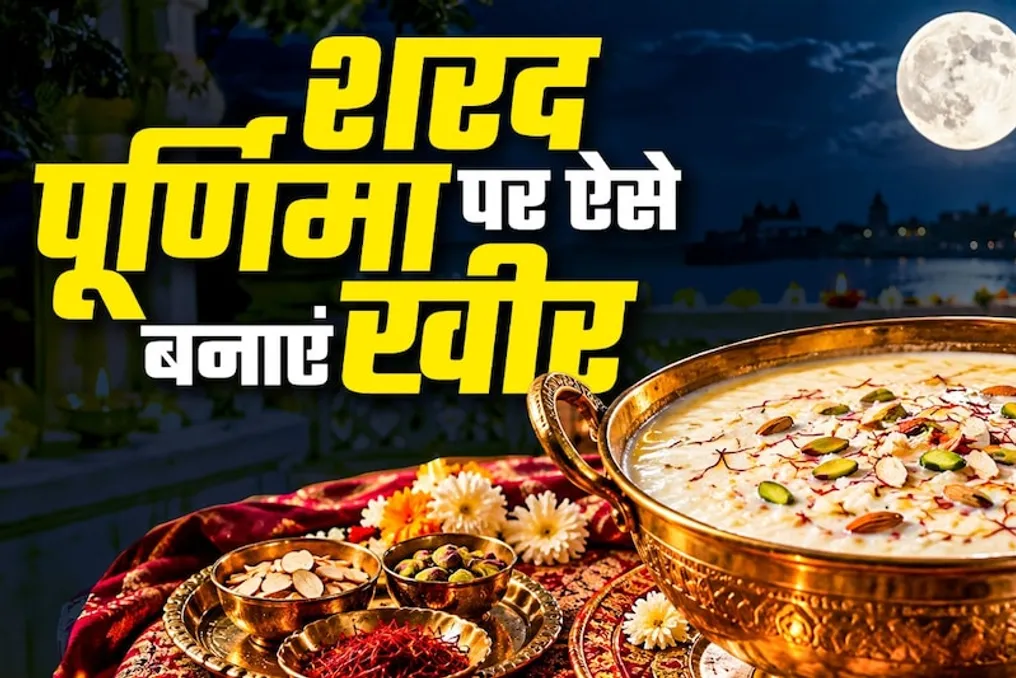
How to make creamy rice kheer for Sharad Purnima without dry milk
Read more
www.aajtak.in

How to make creamy rice kheer for Sharad Purnima without dry milk

Sharad Purnima holds special religious and health significance. This year it falls on October 25th. It is believed that the moon showers nectar on this night, so traditionally kheer is left outdoors overnight to be eaten as prasad in the morning.

However, complaints often arise that when making kheer at home, the milk and rice remain separated, or the dish does not turn out as creamy as rabri. If you want to prepare a thick, creamy, and aromatic kheer for Sharad Purnima without using mawa (dry milk) or condensed milk, you should apply several culinary secrets passed down by grandparents. We present the simplest and most reliable way to prepare kheer, similar to an elixir.

How to make kheer at home:

Ingredients:

  • 1 liter of whole milk
  • 1/4 cup of small grain rice (such as Govindobhog or Basmati-torka)
  • 1/2 cup of sugar (to taste)
  • 8-10 strands of saffron (soaked in 2 teaspoons of warm milk)
  • 1/2 teaspoon of green cardamom powder
  • 1 large tablespoon of ghee
  • Finely chopped nuts (almonds, cashews, pistachios, and chiranga)

Preparation method:

The rice must be washed and soaked in water for 20 minutes. Then, the water is drained, and the rice is lightly mashed with hands. In a pot, heat 1 teaspoon of ghee and fry the rice for 1 minute. (Frying in oil gives the kheer a special aroma, and the rice does not stick to the bottom of the pot).

In a heavy pot or kazan, splash a little water (so the milk does not burn) and pour in the whole milk, bringing it to a boil over high heat. After boiling, add the fried rice to the pot. Reduce the heat to minimum and cook the kheer, stirring occasionally, until the rice is completely cooked and the volume of the milk has reduced by half.

When the rice is well cooked, scrape up the cream formed around the edges of the pot and mix it into the milk. Also, take a little rice and milk in a spoon and lightly mash it near the edge of the pot; this will give the kheer a thickness similar to rabri.

After the kheer thickens, add the sugar, soaked saffron, cardamom powder, and chopped nuts. (It is important to remember that sugar should only be added after the rice is completely cooked, otherwise, the rice will remain raw).

After the sugar dissolves, cook for another 3-4 minutes over low heat, then turn off the gas. The finished, very creamy, and delicious kheer for Sharad Purnima is ready! It should be transferred to a bowl and covered with a clean vessel or silver container to leave overnight under the moonlight.

Popular