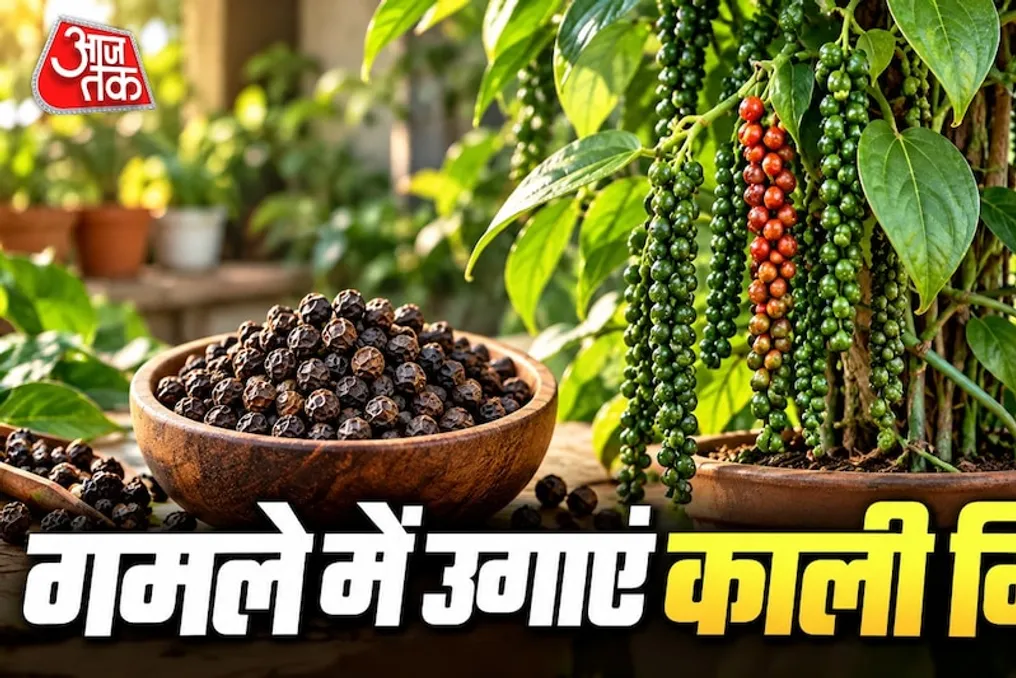
How to grow peppercorns in a pot: step-by-step guide
Read more
Aaj Tak
www.aajtak.in

How to grow peppercorns in a pot: step-by-step guide

Many different spices are used in the kitchen, such as cumin or bay leaves, which give dishes a special flavor. Among them, black pepper holds a special place, as it is used when making tea, enhancing the taste of vegetable dishes, or enjoying soup in winter. Even a small amount of black pepper significantly improves the taste of food. Although it is usually bought in stores, there is a possibility to grow the black pepper plant at home.

This does not require a large garden or field; it is enough to plant its climbing form in a pot placed on a balcony, roof, or in a small home garden. If you enjoy gardening and want to try something new, the climbing form of black pepper can be a good choice. However, successful cultivation requires suitable seeds, quality soil, and some care.

Cultivating black pepper indoors will not require many materials. You will need a medium or large pot, high-quality soil, sand, vermicompost, and fresh black pepper seeds. Additionally, for the climbing form to grow upwards, a wooden stick or some sturdy support must be installed.

Be careful when choosing seeds: dry black pepper grains sold in stores are generally not suitable for sowing because they have been processed. Therefore, it is recommended to purchase seeds from a nursery or garden store. Alternatively, for beginners, it may be easier to start with a ready-made plant purchased from a nursery.

The first step is preparing the potting soil. Choose a pot with drainage holes at the bottom. Then mix regular garden soil, a little sand, and vermicompost to create nutrient-rich soil that ensures good drainage. It is important to ensure that water does not stagnate in the soil, as an overly moist environment can damage the plant's roots.

After preparing the soil, lightly moisten it. Then sow the seeds at a depth of about 1–2 centimeters, covering them with a thin layer of soil. Do not bury the seeds too deeply and leave a small distance between them. Gently water the seeds to keep them in place. Place the pot in a warm place where intense direct sunlight does not reach, as a certain temperature and humidity are required for seed germination. Under these conditions, sprouts may appear after a few weeks, although the process may take longer.

Black pepper grows not as a typical shrub but as a climbing form, so it is crucial to provide support as the plant grows. A wooden stick in the pot or a small net can be used. Allow the climbing form to slowly grow up the support; this gives the plant space to develop and simplifies care. Thus, even without a large garden, this climbing form can be successfully grown in a pot.

The black pepper plant develops well in a warm and humid climate. It should be placed where it receives diffused or filtered light. It is best to protect young plants from strong midday sun. Choose a location on a balcony or roof where there is good light, but the plant will not be exposed to excessive heat. When watering, check the moisture level of the topsoil. Water when the surface begins to dry out, but avoid complete dryness as well as overwatering, which can lead to root rot.

If you aim for the plant to develop well and yield an abundant harvest of black pepper, you need to fertilize it regularly. You can use vermicompost or well-rotted organic compost for this. Apply a small amount of fertilizer every 30–40 days, depending on the plant's needs and growth rate. After applying fertilizer, you can lightly loosen the soil to ensure air circulation. Keep in mind that excessive fertilization can harm the plant. Regularly inspect the leaves and stem: if the leaves begin to yellow or growth slows down, check the watering conditions, lighting, and soil condition.

When can one expect a black pepper harvest at home? One should not expect to get fruit immediately after planting. A plant grown from seeds may take several years to reach the fruiting stage. This requires a warm and humid environment, careful care, and patience. Usually, cuttings are used for black pepper cultivation in agriculture, whereas growing from seeds can be a longer process.
Similar stories

How to Grow a Plant That Yields Cinnamon and Saffron in a Pot for Home Decoration and Enhancing Food Flavor
Read more
www.aajtak.in

How to Grow a Plant That Yields Cinnamon and Saffron in a Pot for Home Decoration and Enhancing Food Flavor

Cinnamon imparts a special aroma and flavor to dishes in the kitchen, whether it is a vegetable dish, a dessert, or some special treat. It is usually bought in a store, but it is known that the cinnamon plant can be grown in a pot at home.

This does not require a large garden or field. With the right soil, seeds, or cuttings and a little care, you can try to grow it in a pot. However, this plant requires time to grow, so patience is necessary. Furthermore, by growing the cinnamon plant, you obtain not only cinnamon but also a spice called saffron.

First of all, for planting the cinnamon plant, you should choose a pot from which water drains easily. Then, you need to prepare a suitable soil mixture. To do this, carefully mix about two handfuls of sand, two handfuls of vermicompost, four handfuls of coconut fiber, and two handfuls of regular soil. This mixture should be filled into the pot.

Next, take a cinnamon seed or cutting and plant it in the pot soil. Lightly cover it with soil and sprinkle with water. In the initial stage, excessive water should be avoided. It is important to maintain soil moisture, but not allow waterlogging.

The cinnamon plant should not be kept under intense sun. It is best to place it in a spot where it will have light shade. Constant exposure to direct sunlight should also be avoided. Although light is necessary for plant growth, it should be protected from too much bright sun in the early stages.

The plant also requires nutrition for development. Therefore, organic fertilizers can be added once a month. When adding fertilizer, pay attention to the amount, and periodically lightly loosen the soil in the pot.

If you expect the cinnamon to appear in the pot in just a few weeks, this is not the case. The plant may require a significant amount of time to prepare. It can take about a year before fruits appear on the plant. Therefore, after sowing seeds, it is important to care for it regularly instead of rushing.

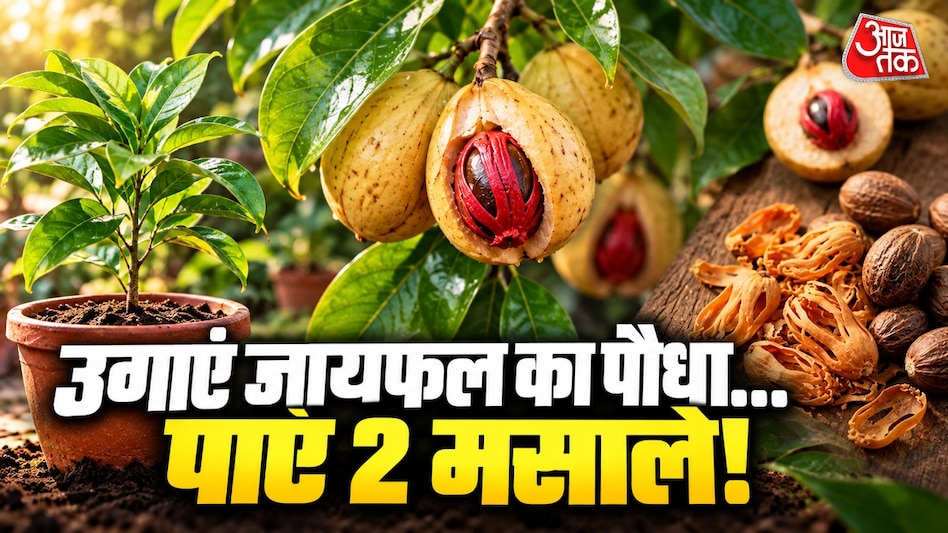
A feature of the cinnamon plant is that a spice called saffron is also obtained from its fruits. In fact, when the cinnamon fruit ripens, it opens by itself. After opening, its seed becomes visible, surrounded by a red net. The seeds dry out, turning into cinnamon, and the red net dries out, becoming saffron.

If you have a hobby of growing various spices and plants at home, cinnamon can be a good option. Starting with a small pot, you can try growing it in a garden or on a balcony at home. The main thing to remember is that it requires time to mature, so both regular care and patience are necessary.

How to grow mint at home from one stem without seeds to have fresh leaves all winter
Read more
www.aajtak.in

How to grow mint at home from one stem without seeds to have fresh leaves all winter

Fresh mint is indispensable both in mint chutneys and raita during winter meals, as well as for giving dishes a special taste and feeling of freshness. However, it often happens that mint supplies run out, and you have to buy small bunches at the market, which sometimes spoil if there are too many.

If you face such a problem, we will tell you how easy it is to grow mint at home. You do not need to buy seeds or acquire a seedling from a nursery. It is enough to take one green and fresh stem bought at the market to grow an abundant harvest of mint that will delight you all winter without requiring much effort.

How to grow mint: step-by-step instructions

First, you should choose a mint stem that looks green, fresh, and sturdy. It should not have spots, rot, or signs of insects. The ideal length of such a stem is about 10–15 centimeters.

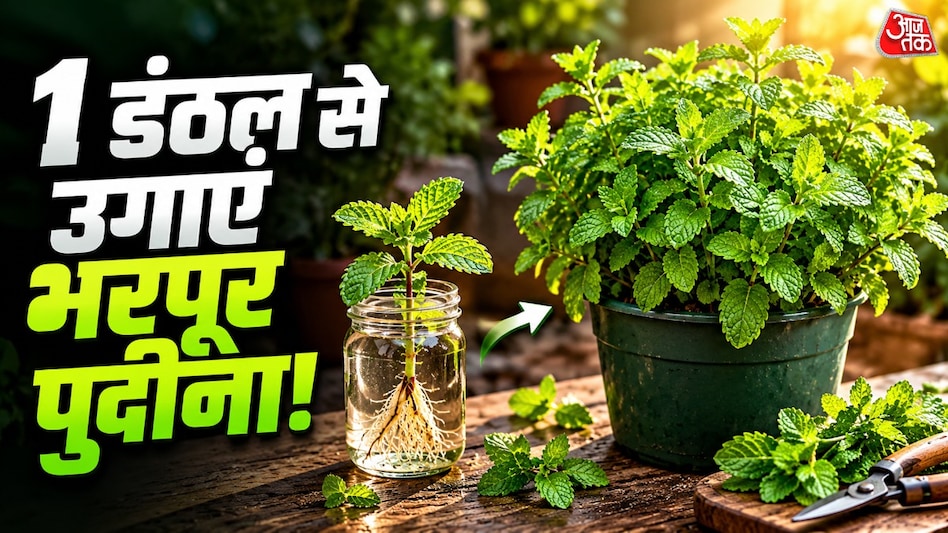
After choosing the stem, place it in a glass of water. In about 7–10 days, small white roots will begin to appear on it. As soon as the roots become visible, transplant the stem into a potted soil.

What kind of pot and soil to choose for mint?

Since mint is a fast-growing plant, growing it in a pot is quite simple. It is recommended to use a pot with a depth of 8 to 12 inches. There must be drainage holes at the bottom of the pot to prevent the accumulation of excess water, which can lead to root rot.

As for the soil, a mixture that retains moisture but also allows excess water to drain easily is best for mint. To prepare such a mixture, you can mix 40% garden soil, 40% manure fertilizer or compost, and 20% coconut fiber or sand.

Protect from strong sun: morning sun is better

Mint does not require constant exposure to scorching sun. For good growth, it is enough for the plant to receive about 3–6 hours of morning sun daily. After this, it is better to place the pot in a semi-shaded area. You can put the mint pot on a balcony, windowsill, or in a place where morning sun falls. Too little light will weaken the plant, while intense sun can damage its leaves.

Water only when the soil dries out. It is important to maintain slight moisture in the soil, but not to allow waterlogging in the pot. Overwatering can damage the roots. To help retain moisture, you can lay dry leaves or a thin layer of grass on top.

What to do to keep the plant lush

If you want the mint to be denser and greener, regularly perform light pruning of the upper young shoots. Also, remove flowers if they appear, as this will direct the plant's nutrients towards forming new leaves and branches. When the plant has grown well, you can cut the stems with leaves using sharp scissors, making the cut slightly above the leaf node. This stimulates the appearance of new side shoots.

Fresh homemade mint is useful not only for chutney but also for raita, salads, herbal tea, and various snacks. In winter, when preparing dishes such as paratha, pakora, yogurt, or chaat, you can use fresh mint from the pot. Thus, instead of throwing away a small stem of mint bought at the market, you can use it to create a plant that will provide you with fresh mint in the future.

Popular