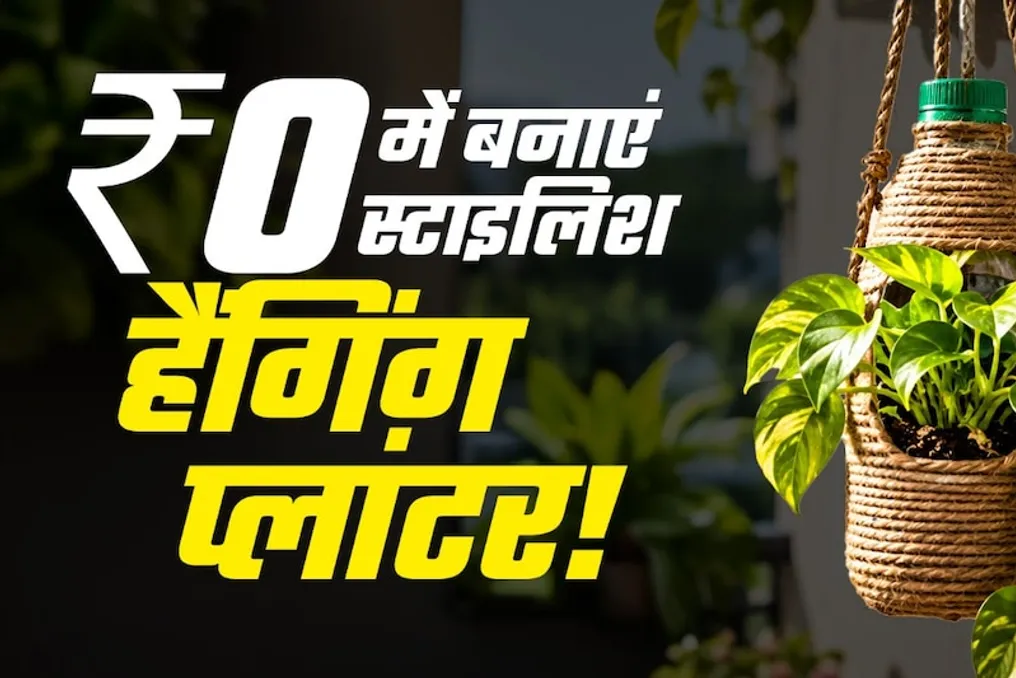
People who enjoy gardening often have to visit nurseries to buy plants. Pots are needed for planting, and they can be expensive in stores and online platforms. Currently, cement, plastic, and ceramic pots are available, offering various designs and options. Among them, hanging planters are popular.
The popularity of hanging planters is growing because they can be placed almost anywhere and give the home a beautiful and prestigious look. However, it turns out that the expensive hanging pots bought in stores can be made yourself from ordinary plastic bottles that usually remain at home after consuming water or carbonated drinks and end up in the trash.
With a little creativity, this useless bottle can be turned into a stylish hanging pot that will improve the appearance of the house. Such pots can be placed on a balcony, by a window, on a room wall, or in an entryway. Below is a guide on how to make pots from a plastic bottle.
What you need to make a hanging pot?
You do not need many materials to create a hanging pot; just some items that might be around the house.
Instructions for making
- First, thoroughly wash and dry the empty plastic bottle. Then, using a permanent marker, draw an oval shape on one side of the bottle. Cut out this part using scissors or a utility knife.
- It is important not to cut the top and bottom parts of the bottle, as these will hold the soil and plant. After cutting, if the edges of the plastic are too sharp, they should be slightly smoothed to reduce the risk of scratching the plant during planting.
- To prevent the roots from rotting due to water accumulation in the pot, you need to make several small holes in the very bottom of the bottle. This can be done by slightly heating an iron nail or using another pointed object to make 3-4 small holes at the bottom.
- These holes will allow excess water to drain, preventing it from stagnating in the soil for long.
- Now comes the most interesting stage of creating the pot. Using hot glue, apply a small amount of glue to the outer surface of the bottle and start wrapping it with woven twine (jute).
- Wrap the twine tightly and close to each other so that the plastic is not visible. Thus, the entire bottle should be covered with jute twine. This will completely change the look of an ordinary plastic bottle, making it look like a stylish rustic pot sold in stores. It should be remembered, however, that the open part, through which you make the hole for planting the plant, cannot be wrapped with twine.
- To hang the pot on the wall, take a strong jute rope. Securely tie it to the top or neck of the bottle. The knot must be strong so that the rope does not loosen under the weight of the soil and plant.
- Optionally, you can create a long looped pattern from the jute twine to give the pot an even more beautiful appearance.
- Pour a few small pebbles into the bottle first. Then fill the pot with potting soil and place your small plant inside. Small houseplants such as ivy or money tree are suitable for such hanging pots.
- When filling the soil, do not use too much soil, and the plant must be securely fixed in the bottle. After that, water it with a small amount of water.
Giving a new look to the wall
Secure this homemade pot to the wall using a sturdy hook. It will look very beautiful on a balcony, next to a window, or on any free wall in the house. The most wonderful thing is that from a plastic bottle that you were going to throw away as trash, you created a useful item for decorating the house. Thus, you are simultaneously recycling with minimal cost and improving the aesthetics of your living space.