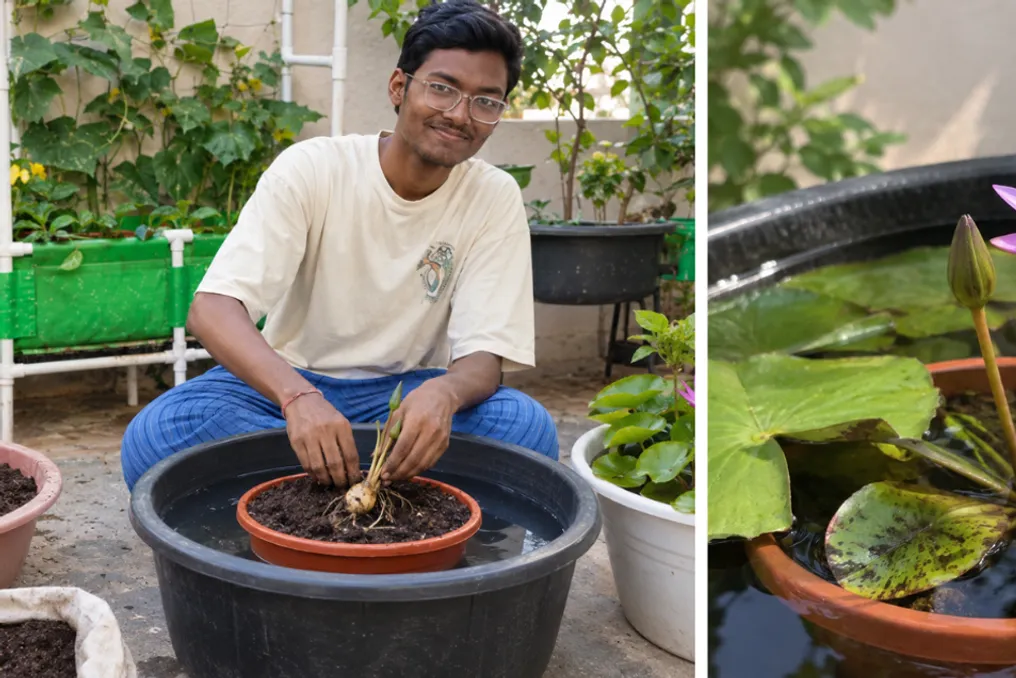
Gardener shares method for growing water lilies indoors using two pots
Read more
The Better India
thebetterindia.com

Gardener shares method for growing water lilies indoors using two pots

Many people can admire water lilies blooming in ponds and assume that a large body of water is required for their growth. However, these flowers can be successfully cultivated at home, even if you only have a sunny terrace, balcony, or corner in the garden.

The gardener and gardening content creator Deepu, based in Ananthapur and sharing gardening tips on Instagram under the handle @gardening.with.deepu, uses a simple pot-in-pot planting method to grow water lilies. To start, he only needs two pots, potting soil, compost, and a sunny spot.

Below is a step-by-step guide to the process.

How to implement the process

  1. Start with two pots

    Take a plant pot measuring 10 to 12 inches with drainage holes. You will also need a larger container, bucket, or basin with a diameter of 16 to 20 inches that has no holes. The smaller pot will contain the water lily and soil, and the larger one will hold the water around it.

  2. Prepare the soil

    Fill the smaller pot about three-quarters full with a mixture consisting of 70 percent potting soil and 30 percent compost. It is important that the mixture is sufficiently heavy. The gardener advises avoiding coconut fiber and other light soil mixtures, as they may float after placing the pot in water.

  3. Plant the rhizome

    Place the water lily rhizome in the soil at a slight angle, directing the growing tip upwards. Gently cover it with soil, leaving the growing tip in such a position that it can produce new growth.

  4. Cover the soil

    After the rhizome is established, apply a thin layer of sand or small stones over the soil. This will prevent the soil from floating when you start filling the outer container with water.

  5. Add water

    Now place the smaller pot inside the larger container. Slowly pour water into the outer container until the water level is about five to ten centimeters above the soil level. As the water lily grows, the depth can gradually be increased to 20-30 cm.

  6. Let the sun do its work

    Find a spot where the water lily receives about six to eight hours of direct sunlight daily. This is especially critical if you are waiting for flowers to appear. The more suitable light the plant receives, the higher its chances of flowering.

  7. Ensure regular care

    As the plant grows, periodically remove old leaves and maintain a constant water level. Compost can be added to the pot monthly. Deepu suggests wrapping the compost in a piece of fabric before adding it so that it remains localized and does not spread through the water.

Advantages of using the two-pot system

The pot-in-pot planting method allows the soil and water to remain separated, providing the water lily with the necessary conditions for development. Furthermore, it simplifies tasks such as changing water, adding compost, or removing the plant for repotting or division. Thus, to enjoy a water lily at home, you do not necessarily need a pond; a pair of pots and a sunny spot can be enough to start.
Similar stories

Tomato Hanging Method: How to Grow Two Types of Greens in One Barrel for a Small Balcony
Read more
www.aajtak.in

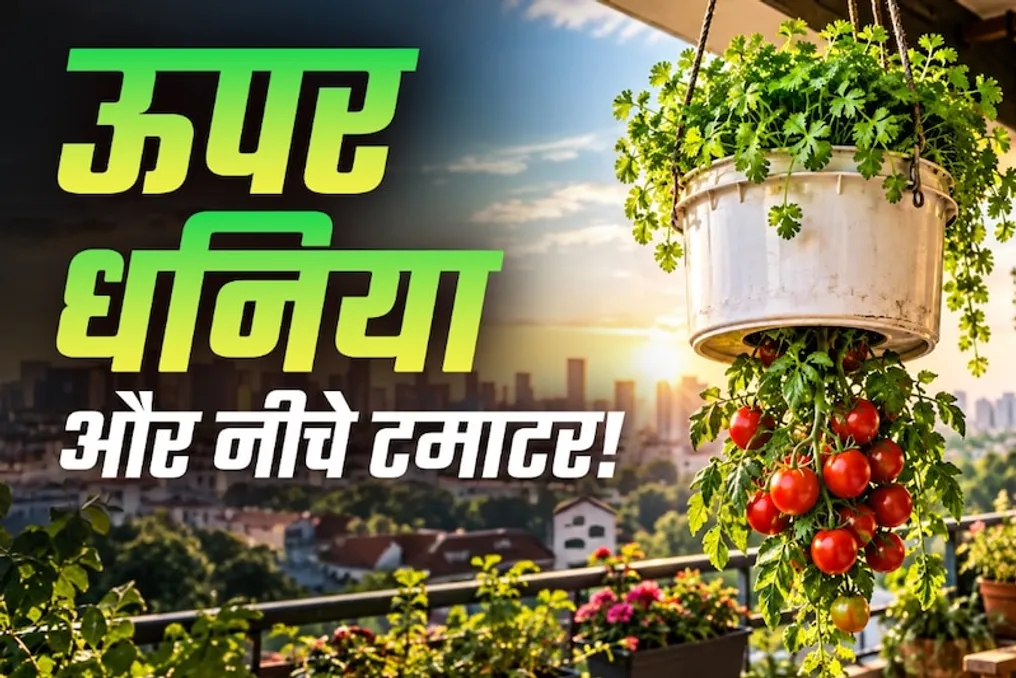
Tomato Hanging Method: How to Grow Two Types of Greens in One Barrel for a Small Balcony

Usually, tomato plants are grown directly in pots or in the ground, but there is a way to grow them by hanging the plant upside down. Although this may seem unusual, this method is very useful for those who garden in limited spaces. With this technique, the tomato plant grows not upwards, but hangs downwards.

This approach is called 'UpSide Down Gardening'. The advantage is that it does not require a large container or a special bed; it is enough to use an ordinary barrel that you have at home. Moreover, small greens, such as cilantro, can be grown on the top part of the barrel, allowing you to practice two types of gardening in one container, which enables growing fresh vegetables and herbs even in a small area.

The essence of 'UpSide Down Gardening' is to grow the plant unconventionally, directing it from the container downwards. For the tomato plant, a hole is made in the bottom part of the barrel or sturdy container. The plant's roots are placed in the soil inside the barrel, and the stem is led out through this hole. Then, the barrel is hung in a secure place. Gradually, the plant begins to grow downwards, and drooping tomatoes appear on it.

This technique is especially good for people who do not have a garden or a large terrace. If there is little space on the balcony for pots, the plant can be grown by hanging it downwards. This frees up floor space and allows more plants to be placed on the balcony.

With this method, the tomatoes do not touch the ground. In conventional growing, tomatoes can fall close to the ground, creating a risk of contamination or spoilage due to contact with the soil. When growing in reverse, the tomatoes hang from the plant, so the problem of ground contact is absent.

It also reduces the need for supports. As the tomato plant grows, it often requires wooden stakes or some kind of support for stability. However, when using the 'UpSide Down' method, the plant grows downwards, which reduces the need to install additional supports for vertical positioning.

The most interesting feature of this gardening technique is as follows: after the tomato plant is removed from the bottom of the barrel, cilantro can be grown on the top part, towards the soil. Thus, one container is used for two plants. Nevertheless, before hanging the barrel, you must ensure that it can withstand the weight of the soil and water, and that the hook or mounting point is strong enough. If your balcony is small, but you want to grow tomatoes, 'UpSide Down Gardening' can be an interesting option. Furthermore, it gives the balcony a special look of a garden corner when growing plants in a limited space.

Popular