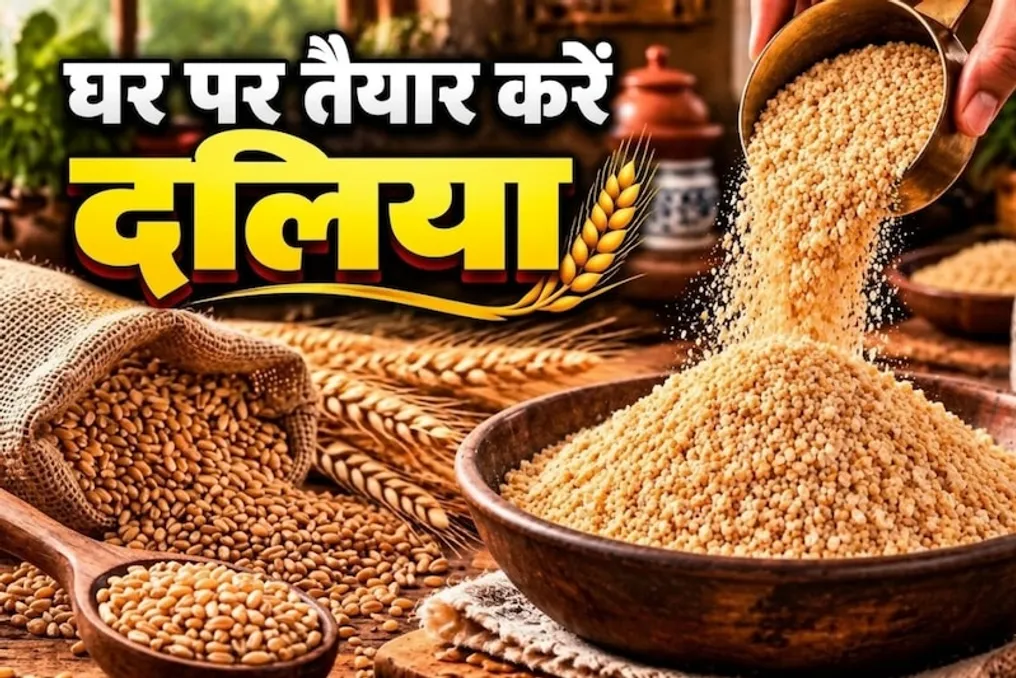
How to make fresh and pure wheat dalia at home, avoiding store-bought options
Read more
Aaj Tak
www.aajtak.in

How to make fresh and pure wheat dalia at home, avoiding store-bought options

Dalia is considered more nutritious than bread because it is made from whole grains, retaining its fiber and nutrients; therefore, doctors recommend consuming it when ill. However, store-bought packaged dalia may be old and contain impurities. In such cases, you can prepare fresh, pure, and grainy wheat dalia yourself.

Preparing this product is very simple: it can be done in minutes using a blender or a small home mill without any difficulty. Homemade dalia is rich in fiber and protein, which helps control weight and strengthens the digestive system. Below is a simple way to prepare fresh wheat dalia.

For preparation, you will need: 2 cups of whole wheat (well cleaned and dried), a sieve, and a bowl for blending.

First, you need to clean and dry the wheat: carefully select the grains, removing pebbles and stones. Then wash the wheat with clean water and completely dry it in bright sunlight so that no moisture remains.

(Optional step) Light roasting: If you plan to store the dalia for a long time, you can lightly roast the clean wheat in a pan over low heat for 2-3 minutes. This will prevent insects from appearing in the dalia and give it a pleasant aroma.

Grinding in a home mill: If you have a small home mill, you can simply load the wheat into it and grind it coarsely.

Grinding in a blender: If you are using a food processor, place the wheat in the blender bowl. Instead of continuous operation, pulse the blender for only 2-3 seconds, then turn it off. Repeat this procedure 2-3 times so that the grains crack but do not turn into flour.

After grinding, the mixture must be sifted through a sieve with large holes. The flour or fine powder obtained during sifting should be separated (it can be used in flatbread dough).

Next, place the remaining coarse dalia on a plate and gently shake it to remove the outer layer (bran). The finished, pure, fresh, and grainy homemade dalia is ready. It can be stored in a clean, airtight glass or plastic jar for several months.


Similar stories

Recipe for Crispy Cornmeal Paratha Instead of Wheat Flour
Read more
www.aajtak.in

Recipe for Crispy Cornmeal Paratha Instead of Wheat Flour

If you are tired of the same wheat parathas for your daily breakfast, try making cornmeal paratha. This option has a very pleasant taste and does not require much effort to prepare. We will tell you how easy it is to make corn paratha at home and what ingredients you will need.

If you want to diversify your daily diet by replacing usual chila-parathas with something tastier, cornmeal paratha will be an excellent choice. It is very appetizing, and its preparation is not a laborious process. Hot corn paratha can be served with yogurt, pickled vegetables, or various sauces. Its taste is so delicious that you will want to cook it again and again.

To start, you will need: 1 cup of cornmeal, 2 chopped green peppers, a little fresh cilantro, 1/2 teaspoon of cumin, salt to taste, 1/2 teaspoon of turmeric powder, 1 teaspoon of red pepper powder, 1 teaspoon of coriander powder, 1 teaspoon of dried fenugreek, as well as ghee or oil for frying the parathas.

First, sift the cornmeal into a large bowl. Then add the chopped green pepper, fresh cilantro, salt, cumin, turmeric powder, red pepper powder, coriander powder, and dried fenugreek, mixing all components thoroughly.

After that, gradually add slightly warm water to the dough and knead a soft dough. It is important to ensure that the dough is neither too stiff nor too loose. Form small balls from the dough.

Carefully shape each cornmeal ball into a circle with your hands. Then heat a pan and grease it with a little ghee or oil. Place the paratha on the hot pan and fry it on both sides. While frying, periodically brush the paratha with ghee or oil. When the paratha becomes golden and slightly crispy on both sides, remove it from the pan.

Hot corn paratha can be served with yogurt, pickled vegetables, or your favorite sauce.

How to make clean and delicious Mawa Modak from dry grain at home, avoiding expensive and fake sweets
Read more
www.aajtak.in

How to make clean and delicious Mawa Modak from dry grain at home, avoiding expensive and fake sweets

During the sacred festival of Ganesh Chaturthi, it is customary to offer worship to Lord Ganesha using modaks. However, during the festive season, there are concerns about impurities and adulterated mawa in the sweets sold in the market. Instead of buying expensive and counterfeit sweets to welcome Bappa, it is recommended to prepare crispy and aromatic Mawa Modaks from regular dry grain that you have at home.

Thanks to the outer shell made of high-quality coarse dry grain and the rich filling of mawa and nuts, the taste of these modaks becomes so delightful that they will win the hearts of everyone who receives them as prasad for Bappa.

For the outer shell: 1 cup of fine dry grain, 1.5 cups of milk, 1 tablespoon of ghee, 1/2 teaspoon of cardamom powder, 2 tablespoons of crushed sugar.

For the filling: 1/2 cup of mawa (khoya), 2 tablespoons of grated coconut, 2 tablespoons of cashew and almonds (finely chopped), 1 teaspoon of chirunji, a pinch of nutmeg and cardamom powder, 2–3 tablespoons of crushed sugar.

First, sauté the mawa in a pan over low heat for 2–3 minutes until light pink. Then add the chopped cashews, almonds, chirunji, grated coconut, nutmeg, and cardamom powder, after which turn off the gas. When the mixture cools slightly, add the crushed sugar and set aside.

In a pot, bring 1.5 cups of milk, 1 teaspoon of ghee, and 2 tablespoons of crushed sugar to a boil. Then reduce the heat and gradually, stirring constantly, add the dry grain to avoid lumps. Continue stirring until the grain has completely absorbed the milk and the mass starts to pull away from the sides of the pot. Turn off the gas and cover the dry grain with a lid for 5 minutes to steam well.

When the dry grain is slightly warm, knead it by hand for 2 minutes, lubricating your hands with a small amount of ghee, until it resembles dough. Lightly grease the modak molds with ghee. Place a small amount of the dry grain mixture on both sides of the mold and form an indentation in the center with a finger. Then, place the prepared mawa and nut filling into this central hollow, and cover it with a small amount of the dry grain mixture, sealing the mold from below. After removing the mold, you get a beautiful, clean, and delicious Suji Mawa Modak. Similarly, prepare all other modaks and offer them to Bappa.

Pumpkin Kadubu Recipe: A Traditional Karnataka Dish with Coconut Paste
Read more
www.aajtak.in

Pumpkin Kadubu Recipe: A Traditional Karnataka Dish with Coconut Paste

In North India, paratha, poha, or chila are often served for breakfast, but the monotony of these dishes can reduce appetite. In such cases, one can try exquisite dishes from other regions, especially if one desires something not fried; popular dishes from South India are worth considering.

Although pumpkin puree is familiar to everyone, children often refuse pumpkin soups. However, in Karnataka, there is a special breakfast dish that boasts a delightful taste and does not require much preparation time. This dish is called Pumpkin Kadubu, which is made from semolina, fresh pumpkin, coconut, and sweet peas, and has an excellent flavor.

A feature of this dish is that it is steamed, wrapped in banana leaves, instead of being fried in oil. This is why Pumpkin Kadubu is ideal both for breakfast and a light evening snack. If you do not feel like eating pumpkin in its usual form, you can prepare this dish for breakfast.

To enhance the flavor, Pumpkin Kadubu is recommended to be served with spicy coconut chutney. The combination with this chutney multiplies the taste. Preparing this dish takes little time, and it is very tasty. It can also be prepared for children's school lunches.

Why should you try this recipe?

The main feature of Pumpkin Kadubu lies in its taste and method of preparation. It combines the mild sweetness of pumpkin and coconut, while green chili adds spiciness. Since it does not need deep frying, this dish is easy to include in the menu as a light and non-fried breakfast option.

Popular