How to make designer bracelets at home: a simple way to create colorful jewelry in 10 minutes
Read more
Aaj Tak
www.aajtak.in

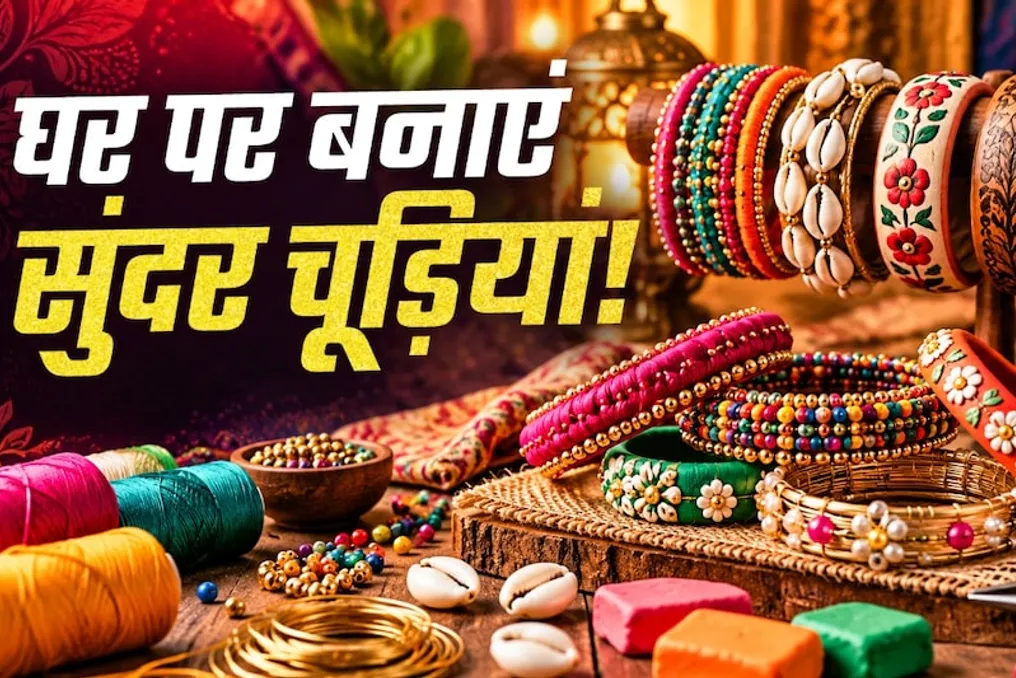
How to make designer bracelets at home: a simple way to create colorful jewelry in 10 minutes

Bracelets are an integral part of women's adornment, instantly highlighting the beauty of the hands. Women and girls love wearing colorful bracelets, whose melody and beautiful design add a touch of flair to any simple suit, sari, or ethnic outfit.

However, it is often the case that after visiting a market, one cannot find a bracelet of the desired color, design, or size, which causes disappointment. Instead of wasting time searching in stores, you can create unique bracelets yourself using simple items available at home and a little creativity.

It does not require many materials or large expenses to create stylish bracelets that perfectly match your outfit.

Before starting, it is important to decide on a design. You can use a mosaic of beads of different colors in a specific order, or give a new look to a single-colored bracelet by adding small beads. It is also possible to combine various patterns and shades to create a completely personalized item.

No special technique is needed to create bracelets; ordinary tools such as scissors, pliers, and a rolling pin are sufficient.

If you are making a bracelet from wire, it is easy to give it a rounded shape with the help of pliers. To make the bracelet thicker, the wire can be twisted several times into a ring. Scissors will be needed to cut the thread or cord.

First, give the wire the desired rounded shape corresponding to the size of your wrist. If you are using shells or beads, string them sequentially onto the wire or a strong thread. It is important to ensure that the beads are securely fastened so they do not fall off while wearing. At the same time, the bracelet should not be made too tight, otherwise, it may cause discomfort when worn.

After completing the structure, the bracelet can be further decorated. A ceramic bracelet can be painted with bright paints, and a beaded bracelet can be finished using a combination of different colors. Optionally, the item can be coated with a light layer of varnish, which will help preserve the design and paint for some time, and also add shine.

The main advantage of handmade bracelets is that you will not be limited to one design. You can change the color and pattern depending on the outfit you plan to wear—whether it is a sari, a suit, or a festive dress. Thus, a small amount of materials and your ingenuity allow you to constantly create new bracelets.
Similar stories

Masala Peanut Recipe: How to Quickly and Easily Make a Crunchy Snack at Home
Read more
www.aajtak.in

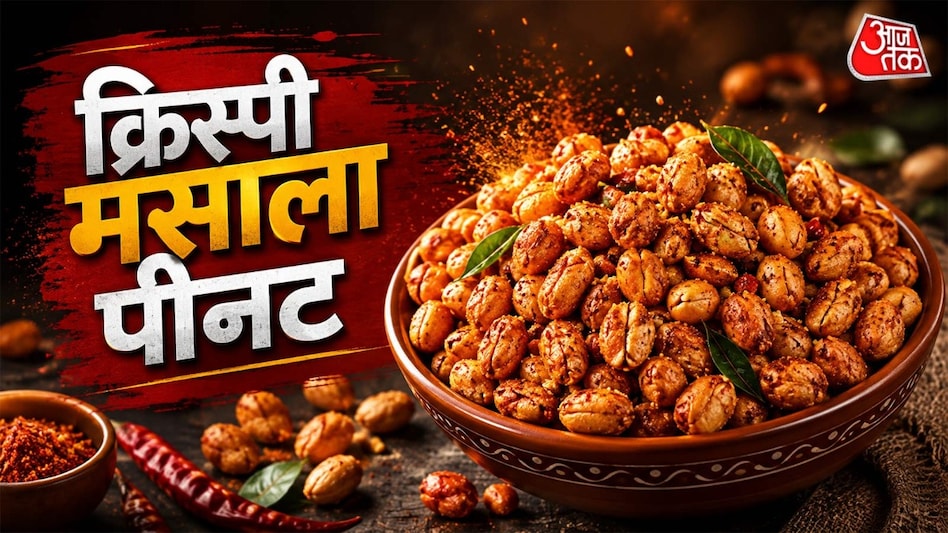
Masala Peanut Recipe: How to Quickly and Easily Make a Crunchy Snack at Home

Crunchy and spicy masala peanuts sold in stores are liked by everyone, from children to adults. The good news is that this snack can be easily made at home with minimal effort. This snack, which is prepared from legume flour, rice flour, and simple spices, turns out very crunchy on the outside and incredibly tasty. Furthermore, it can be made once and stored for a long time.

If you crave something spicy, try making masala peanuts at home. Below is a recipe for making crunchy masala peanuts similar to the store-bought kind, along with a list of necessary ingredients.

The following components will be needed for preparation: 2 cups of raw peanuts, 4 tablespoons of legume flour (besan), 2 tablespoons of rice flour, 1 teaspoon of red chili powder, half a teaspoon of turmeric powder, 1 teaspoon of chaat masala, half a teaspoon of garam masala, 1 teaspoon of salt, 1 teaspoon of ginger and garlic paste, 1 tablespoon of oil, 2-3 tablespoons of water, as well as frying oil.

To ensure the spices evenly coat the peanuts, the water should be added gradually. When frying, maintain medium heat, as strong heat can cause the spices to burn quickly while the peanuts inside do not cook properly. After frying, be sure to let the peanuts cool completely; only then will they retain their crunchy texture for a long time. If you plan to store the finished product, always use airtight containers.

Matka Mithai Recipe: How to Make Colorful Coconut Sweet Without Using a Stove
Read more
www.aajtak.in

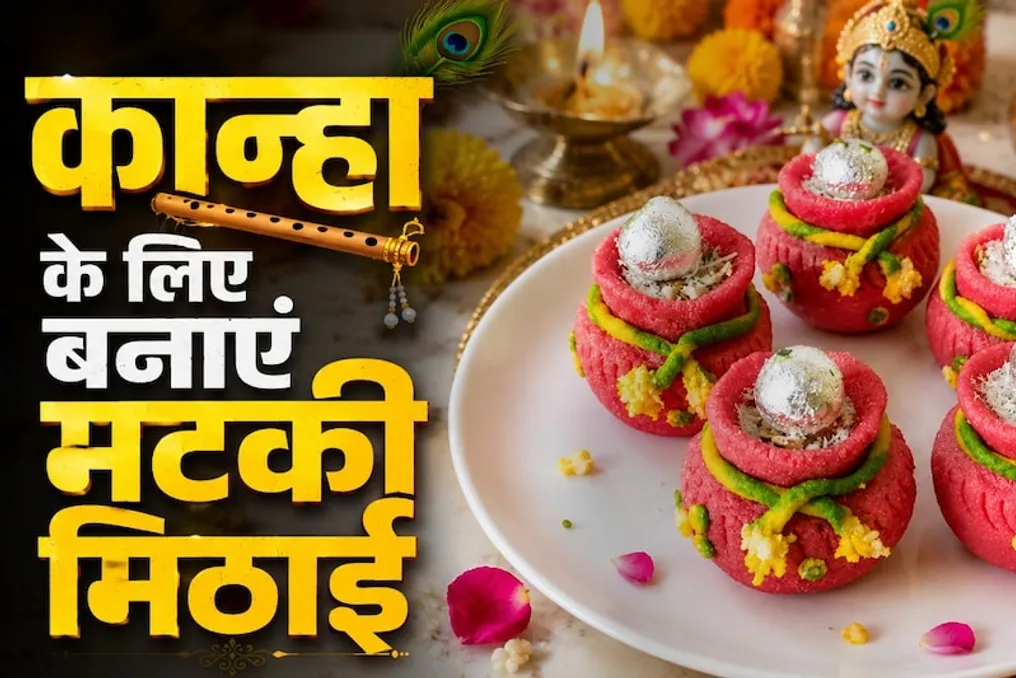
Matka Mithai Recipe: How to Make Colorful Coconut Sweet Without Using a Stove

In honor of the sacred festival of Shri Krishna Janmashtami, people prepare various delicious treats to worship Lord Bal Gopal. This year, the colorful sweet Matka Mithai has become very popular on social media and the internet. The main feature of this sweet is that its preparation does not require the use of a stove at all.

This sweet is shaped like small, colorful clay pots, which is how it got the name Matka Mithai. This sweet looks not only very attractive and beautiful but also has a creamy and delightful texture when eaten. If you want to quickly and without hassle prepare a sacred offering for Kanhaji for the celebration of Janmashtami, be sure to try this viral sweet that does not need to be cooked over fire. A simple instruction for its preparation is provided below.

The following ingredients are needed for preparation: makhan flour — 1 cup (makhan must be ground in a blender); coconut flakes — ½ cup; ground sugar or powder — ½ cup (to taste); milk powder — 4-5 tablespoons (to give the flavor of mawa); cardamom powder — ½ teaspoon; cold milk or cream — 4-5 tablespoons (for kneading the dough); pink, yellow, or brown food coloring — for the pot's color and decoration (optional, green or any other color can be chosen); if food coloring is unavailable, Ruhafza can be used for pink color; butter, mishri, or cashew-almond — to give the appearance of oil on the pot.

First, prepare the mixture: in a large bowl, thoroughly mix the makhan flour, coconut flakes, ground sugar, milk powder, and cardamom powder. Then knead the dough: gradually add a little cold milk or cream to this dry mixture and knead by hand until a soft dough resembling modeling dough is obtained. It is important to use very little milk so that the mixture does not become wet.

Coloring (Pot Shape): Divide the dough into two parts. Add a little pink, yellow, or light brown food coloring to the larger part; you can change the color as you wish. Leave the smaller part white. Now take the colored dough and form small balls from it. Gently shape them into a round form, press slightly on top, and flatten at the bottom to achieve the beautiful look of an earthen pot. Make a small indentation with your finger on the top of the pot.

Filling with Oil: Take a small ball of white dough (or use real white ghee/mishri) and place it in the indentation on the pot to create the impression that oil is flowing out of the pot. Decoration: Finish the decoration by attaching thinly sliced pistachios, almonds, or saffron threads. Your beautiful Matka Mithai sweet is ready without using a stove.

Homemade Recipe for Fried Karela with Peanuts: A Crispy Dish with Spices
Read more
www.aajtak.in

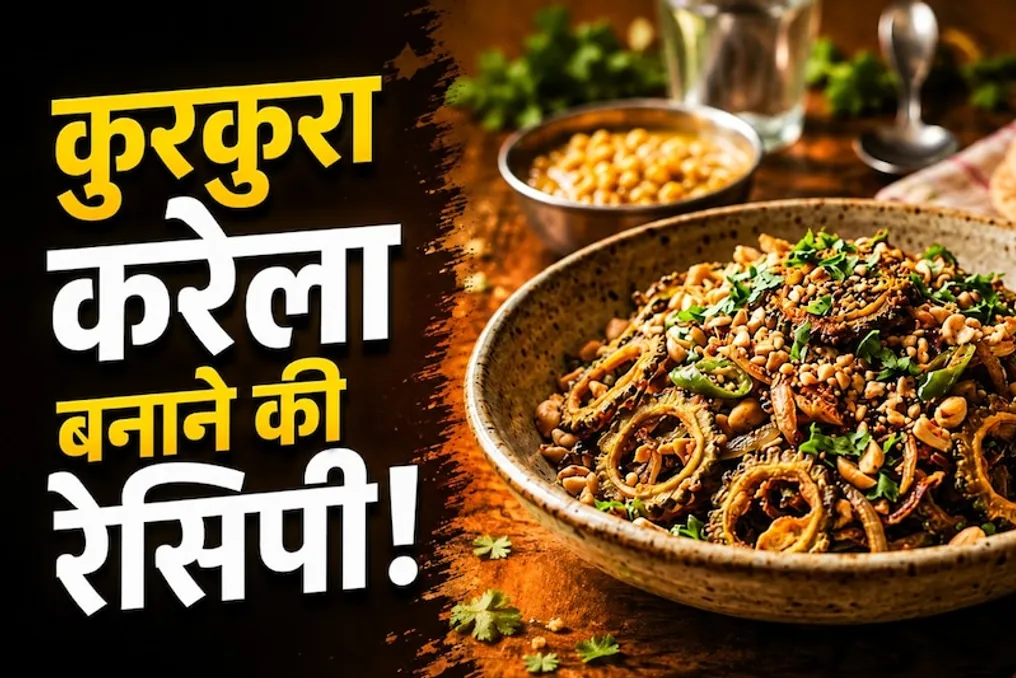
Homemade Recipe for Fried Karela with Peanuts: A Crispy Dish with Spices

If you dislike the bitterness of karela, try making homemade fried karela with peanuts. This crispy snack, prepared with peanuts, spices, and onions, has an incredible taste. It is easy to serve with bread, paratha, or dal-chawal.

Karela is considered healthy, but its bitter taste repels many people. If people in your household grimace at the mention of karela, it is worth trying the peanut karela option. After tasting this crispy and delicious dish, your family members will become fans and ask for it to be made again.

The addition of the crunchy flavor of peanuts and spices makes the taste of karela very interesting. This dish can be served with roti, paratha, or dal-chawal. Below is the method for preparing karela with peanuts at home.

First, the karela should be thoroughly washed and cut into thin round slices. To reduce the bitterness, the sliced karela should be salted and left for about 15–20 minutes. Then, the karela must be gently squeezed and rinsed with clean water, followed by thorough drying.

Oil is heated in a frying pan. When the oil is hot, cumin seeds are added and allowed to sizzle. After this, the chopped onion and green pepper are fried until lightly golden. Then, the sliced karela is added to the pan and cooked over medium heat, stirring occasionally so that it fries well.

When the karela starts to become slightly crispy, turmeric, coriander powder, red pepper, and salt are added, and mixed. Next, crushed fried peanuts are added to the karela. All ingredients are thoroughly mixed and simmered for another 2–3 minutes. Finally, amchur powder is added. If necessary to balance the bitterness, a little palm can be added.

The finished fried karela with peanuts is served hot with roti, paratha, or dal-chawal. The peanuts give the dish a light crunch, and amchur and spices enhance the flavor.

Popular