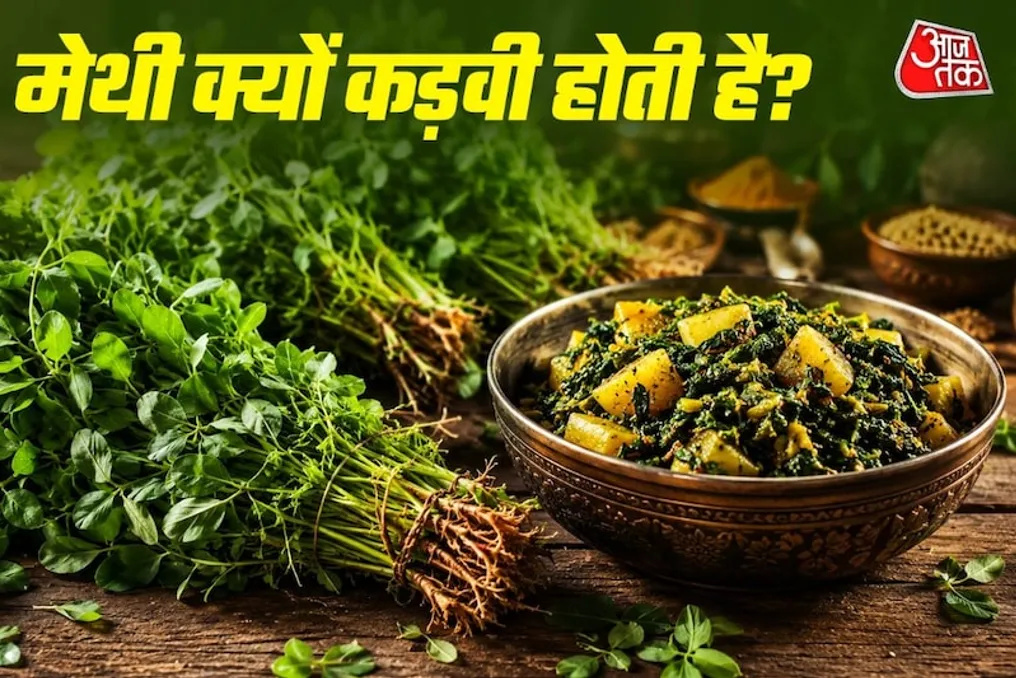
How to reduce the bitterness of mitti when cooking: a folk recipe before preparation
Read more
Aaj Tak
www.aajtak.in

How to reduce the bitterness of mitti when cooking: a folk recipe before preparation

Green vegetables are valued not only for their taste but also for their health benefits, so people often include them in their diet. Besides spinach, mitti is a popular choice among green vegetable lovers. Although mitti is enjoyed in the form of flatbreads or warm dishes, people often express dislike when it is used to make soup. The reason for this lies in the slightly bitter taste of mitti, which can spoil the overall impression of the dish.

Due to its bitterness, children often refuse mitti when they see it. However, there is an explanation for why mitti can be bitter and where this bitterness comes from. This article examines these issues and also offers a way to reduce the bitterness of mitti.

The main reason for the bitterness of mitti is the presence of natural bitter compounds in its leaves. These compounds give mitti its characteristic bitter taste. The degree of bitterness can vary depending on the variety of mitti, the age of the leaves, and their freshness.

Nevertheless, this slight bitterness gives mitti a special flavor, so it does not necessarily need to be completely eliminated, but only slightly softened as needed.

If family members do not like mitti because of its bitterness, you can try the following method. First, the mitti leaves are thoroughly cleaned and rinsed in clean water one or two times. Then, a small amount of salt is added to them and left aside for 10–15 minutes.

Thanks to the salt, osmosis occurs, resulting in water leaving the mitti cells. During this process, some water-soluble bitter compounds are also drawn out. After this, the mitti needs to be gently squeezed and used in soup, flatbreads, or any other dish.

It is important not to overdo the squeezing of mitti after adding salt, as strong compression can negatively affect its shape and taste. It is enough to just remove excess moisture slightly.

If the goal is to maintain a very mild taste of mitti, it can be mixed with potatoes, cheese, peas, mitti mushrooms, or dough. Such a combination helps balance the taste of mitti, making it less bitter.

Similar stories

Make Pink Beetroot Puris: A Protein-Rich Dish That Improves Hemoglobin Levels and Gives Skin a Healthy Glow
Read more
www.aajtak.in

Make Pink Beetroot Puris: A Protein-Rich Dish That Improves Hemoglobin Levels and Gives Skin a Healthy Glow

Beetroot is considered extremely healthy because it not only helps rapidly increase hemoglobin and blood levels in the body but also helps give the skin a natural pink hue and strengthens the immune system. However, due to its tart taste, children and the elderly often are reluctant to eat it as a salad or juice.

If you want to serve the benefits of beetroot to the whole family in a tasty way, then protein-rich and nutritious pink beetroot puris will be an excellent choice. These puris, made from wheat flour, boiled beetroot, and a savory truffle blend of cumin and asafoetida, look attractive while being soft and delicious. Below is the necessary list of ingredients and a simple preparation method.

You will need: 2 cups of wheat flour, 1 large boiled and peeled beetroot, 2 tablespoons of semolina (for a crispy texture), 2 tablespoons of legume flour (for protein and flavor), 1-2 green peppers, a half-inch piece of ginger, 1/2 teaspoon of cumin, a pinch of asafoetida, 1/2 teaspoon of roasted cumin, 1 teaspoon of dried methi, salt (kala or regular) to taste, 1 tablespoon of oil/ghee (for greasing) plus oil for frying.

First, cut the boiled beetroot into small pieces. In a blender, mix the beetroot, green pepper, ginger, and 2 tablespoons of water until you get a completely smooth puree. In a large bowl, mix the wheat flour, semolina, legume flour, cumin, asafoetida, roasted cumin, dried methi, salt, and 1 tablespoon of oil/ghee. Thoroughly mix all the dry ingredients.

Next, add the prepared beetroot puree to the flour mixture. Gradually knead a firm dough (the puri dough should be slightly firmer than roti dough; if water is needed, rinse the blender and use only 1-2 tablespoons of water). Grease the dough lightly, cover it, and let it rest for 10 minutes so the semolina can swell.

After 10 minutes, knead the dough again for one minute. Then, divide it into small balls. Grease each ball with oil and roll it into round puris (do not use dry flour, as this contaminates the oil). Heat the oil in a pan to high heat, then, maintaining medium or high heat, place the puris one by one. Gently press the puri with a spatula—it will immediately start puffing up like a ball. Fry on both sides until light golden brown and place on paper towels.

The finished, beautiful, nutritious, and crispy 'pink beetroot puris' can be served for lunch with a rich vegetable curry, yogurt, or chutney.

Popular