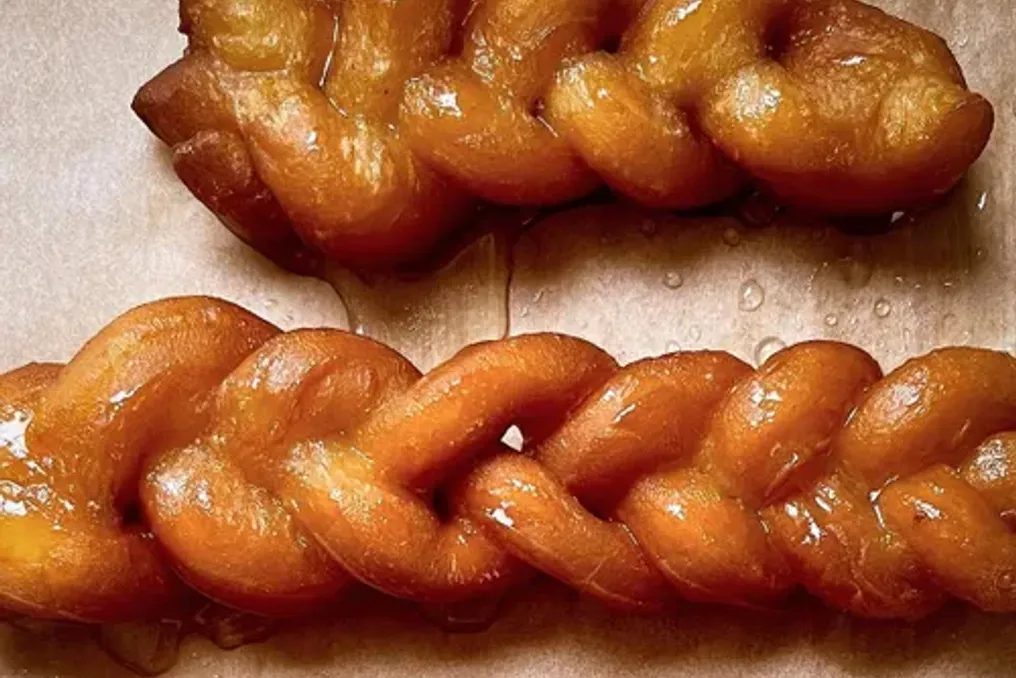
How to avoid dryness and hardness in koeksisters and achieve the perfect texture
Read more
IOL
iol.co.za

How to avoid dryness and hardness in koeksisters and achieve the perfect texture

A perfect koeksister should have a crispy and golden crust on the outside, and a soft, syrup-soaked core inside, with enough spiced syrup coating every curl and strand. The cooking process can be very disappointing when the result is a hard, dry, and insufficiently sweet dessert.

Achieving the ideal koeksister texture requires adhering to certain conditions. Usually, the problem lies not in a single mistake, but in a combination of factors: dough consistency, oil temperature, frying time, and most importantly, the syrup itself.

Fortunately, these issues are usually easy to fix if you know what to look out for.

Can you rescue hard koeksisters?

If a batch is already ready but turned out harder than expected, you should first check the syrup. If it has become too thick, it needs to be adjusted according to the original recipe and cooled properly. After that, you can quickly dip the koeksisters in cold syrup; this will not completely fix those that are severely overcooked, but extra syrup will help soften them.

Don't overwork the dough

Overmixing the dough can also lead to a tougher texture. Once the ingredients are combined and the dough is smooth enough to work with, it should be allowed to rest according to the recipe. Resting time allows the gluten to relax, making the dough easier to roll and shape. There is no need to keep kneading just to make the dough look smoother.

Check your oil temperature

Oil temperature is one of the key factors in achieving the correct texture. If the oil is too hot, the outer side of the koeksister may brown quickly while the inside does not have time to cook through. Frying at an excessively high temperature can also make the exterior too crispy and hard. However, too cold oil creates another problem: the dough may absorb too much fat, making the koeksisters heavy and greasy. You must maintain the oil at a stable, moderate temperature and avoid overcrowding the pot. Adding too many pieces at once can cause the temperature to drop and affect both color and texture.

Don't over-fry them

Koeksisters must be fully cooked, but they should not turn dark brown. As soon as they achieve a golden color and are ready, they must be removed from the oil. If left in the oil for too long, moisture evaporates, which can create a hard outer shell that hinders syrup absorption. If your koeksisters constantly come out very dark, try reducing the frying time and checking the oil temperature.

Cold syrup is essential

This is one of the most important points to get right. The traditional method is to immediately place the hot koeksisters into very cold syrup after removing them from the oil. This sharp temperature contrast helps the syrup adhere to the hot dough and penetrate inside. If your syrup was at room temperature during frying, it may not yield the same result. A practical tip is to divide the syrup into two containers: keep one chilled in the refrigerator while working, and then switch them when the dipping syrup starts to warm up. You can also keep the syrup container over a bowl of ice during dipping to help maintain the temperature.

Your syrup could be too thick

Syrup that has boiled for a long time can become thick and sticky, rather than liquid enough to penetrate the koeksisters. Remember that the syrup continues to thicken as it cools. If it becomes almost honey-like, it may coat the outside without penetrating the fried dough properly. Follow the cooking time specified in your recipe and do not assume that a thicker syrup will result in sweeter or better koeksisters.

Avoid syrup crystallization

No one wants a grainy crust on their koeksisters. Sugar syrup can crystallize if the sugar has not completely dissolved or if the syrup is unnecessarily stirred after boiling begins. Follow the syrup preparation method in your recipe carefully. Many traditional recipes also include lemon juice or another acidic ingredient, which helps reduce the risk of crystallization.

Dip the koeksisters while they're hot

Timing is almost as important as temperature. Prepare the cold syrup before starting to fry. The koeksisters must transition from hot oil to cold syrup without resting for several minutes. As the dough cools, its texture changes, and it will absorb the syrup differently than before. This is why it is useful to prepare everything in advance before the first batch goes into the oil.

Give them a proper dip

A quick dip may be insufficient to coat every part of the koeksister. Use tongs to place the hot koeksister into the cold syrup, turning it so that the syrup reaches all sides. Ensure that the curls and folds are coated, not just one side is dipped. There is no need to leave it submerged for a long time. The goal is to coat and soak the koeksister without making it soggy. Once properly coated, remove it and place it on a rack or serving plate.

Don't roll the dough too thick

Dough thickness can have a noticeable effect. If your strips are too thick, the outside may become crispy before the center is properly cooked. A thick piece also provides more dough for the syrup to penetrate. Roll the dough according to your recipe and try to make the pieces as uniform as possible. Uniform pieces will also fry at the same rate, which simplifies determining doneness.

Your dough may be too dry

One of the easiest ways to get hard koeksisters is by adding too much flour. Koeksister dough should be soft and pliable, not stiff. If it feels dense before even going onto the rolling pin, the finished koeksisters are unlikely to have a tender core. There may be a temptation to keep adding flour when the dough seems sticky, but you should resist this urge. Add flour gradually and only the amount required by the recipe. Too much flour can also make the dough difficult to roll and shape, leading to a dense koeksister instead of one that fries light and crispy. For the next batch, pay special attention to three things: soft dough, stable frying temperature, and properly chilled syrup. The main lesson is simple: hot koeksisters and cold syrup. By correctly setting this temperature contrast, you will get closer to the crispy, syrup-soaked koeksisters everyone is waiting for.
Similar stories

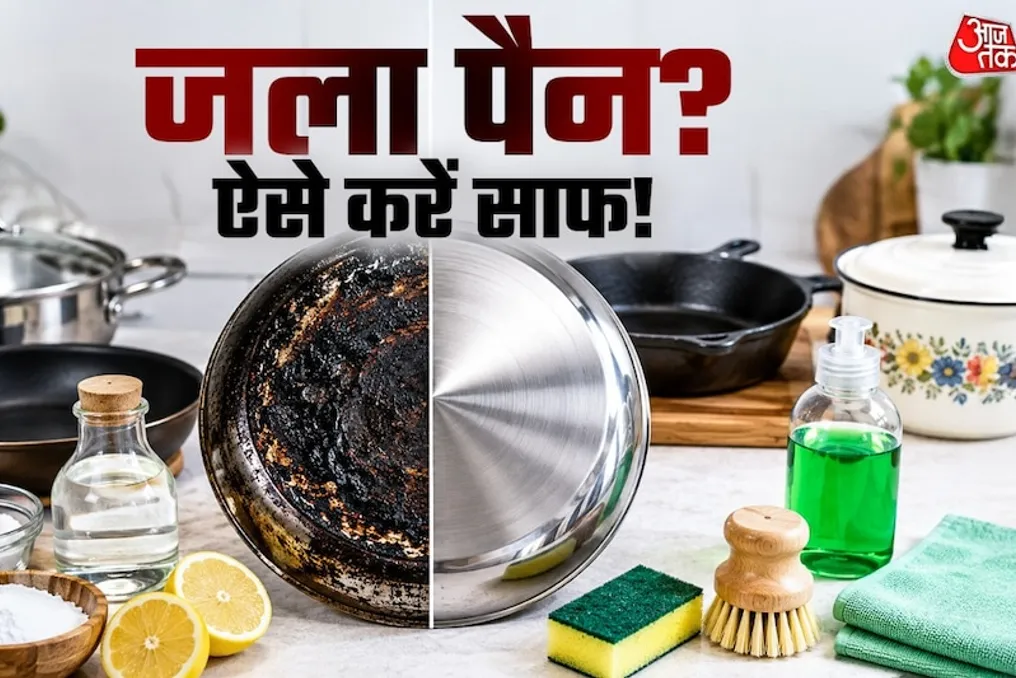
Expert Tips for Cleaning Burnt Pans: Simple Methods to Restore Dish Shine
Read more
www.aajtak.in

Expert Tips for Cleaning Burnt Pans: Simple Methods to Restore Dish Shine

When cooking in the kitchen, it often happens that forgotten items cause pans or pots to burn. Sometimes food sticks so heavily to the bottom that cleaning it takes many hours. In such cases, people tend to consider it a problem and even think about throwing away the dishes, but this is not necessarily true.

According to culinary and cleaning experts, expensive cleaning agents are not required to clean burnt cookware. Using some household items and following the correct washing technique allows you to restore the shine of the pan. However, there is no universal method for all types of dishes.

It is necessary to determine the material of the pan

Before starting to clean burnt cookware, it is crucial to find out what material it is made of. The cleaning methods must differ for stainless steel, non-stick, cast iron, and enameled pans.

Excessive scrubbing on non-stick surfaces can damage their coating, and overly aggressive cleaning of cast iron can lead to the loss of its seasoning.

Cleaning methods depending on the type of dish

Start with baking soda: If the layer of burnt food is not too thick, you can start by using baking soda. To clean such a pan, add a little water and soda, then heat it over low heat. After heating, the burnt product will begin to flake off. Then, after cooling the pan, gently wipe it with a soft sponge. This method is especially effective for stainless steel cookware.

The help of vinegar: For more heavily burnt pans, you can heat equal parts of water and vinegar in them for some time. This helps loosen stuck grease. Afterward, wash and clean thoroughly with a soft sponge; if necessary, you can add baking soda.

What to do with stainless steel pans

If blue, yellow, or dark spots appear on stainless steel after burning, you can use a light cleaning powder. However, excessive amounts of powder or harsh scrubbing should be avoided. Mix a little powder with water to form a paste and gently rub the soiled area.

Important: Do not use intensive cleaning on non-stick pans

If burnt grease appears on non-stick cookware, do not use steel wool or rough scrapers, as this can leave scratches on the coating. In such cases, it is recommended to pour hot water with a small amount of detergent and let it sit for some time. Then, carefully clean with a soft sponge.

Salt is a simple way for cast iron

Cleaning cast iron requires a special approach. To remove burnt food, you can use coarse salt. When the cast iron is slightly heated, sprinkle coarse salt into it and add a little oil, then gently rub. If necessary, the softened dirt can be removed with a wooden spoon or spatula.

Using a metal scraper

If dirt is very heavily stuck to a cast iron pan, a metal scraper can be used. It helps remove the hardened layer and, when used correctly, does not cause much damage to the seasoning. However, it must not be used on non-stick or other fragile surfaces.

Removing stuck food with a wooden spatula

If burnt food has softened with water or soap, instead of scraping it with metal objects, use a wooden spatula or spoon. This minimizes the risk of scratching the surface.

Drying cast iron after washing

Simply washing cast iron cookware is not enough; it is critically important to dry it thoroughly. Any moisture can cause rust. After washing, wipe the cookware with a cloth, and then, if necessary, leave it on low heat to completely evaporate residual moisture. After that, it is useful to apply a thin layer of oil.

Metal mesh is not suitable for all cookware

A common mistake is using a metal mesh or a rough scraper on any burnt cookware. While this may work for durable cast iron items, it can damage non-stick, enameled, or other delicate surfaces. Therefore, the most important thing when cleaning is to first identify the surface and then choose the appropriate cleaning method.

How to Keep Potatoes Fresh: Simple Methods to Prevent Browning After Cutting
Read more
www.aajtak.in

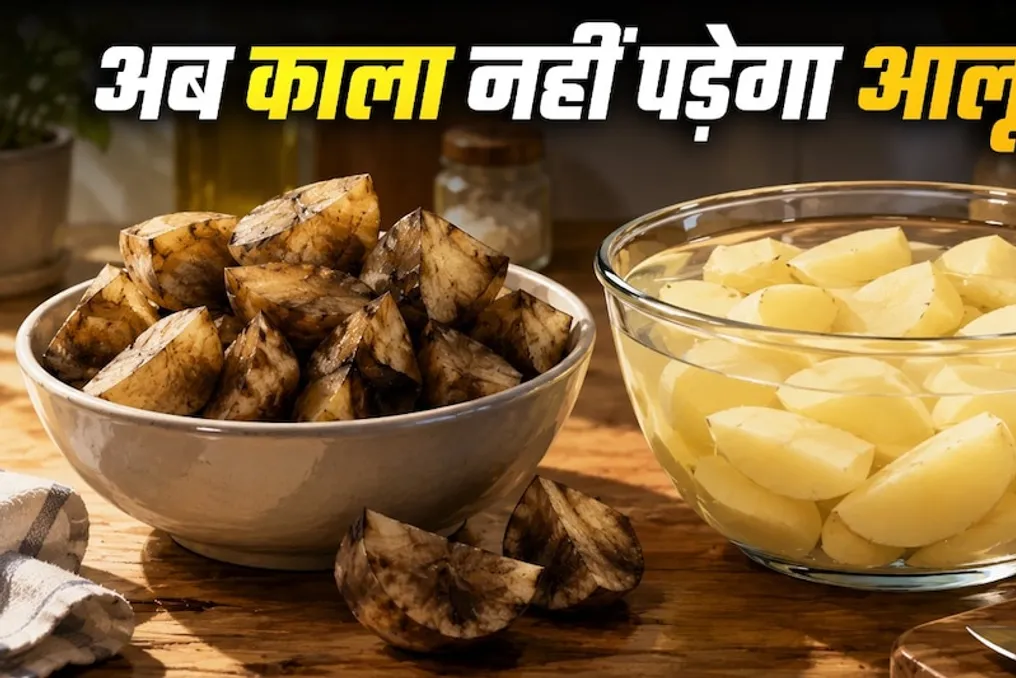
How to Keep Potatoes Fresh: Simple Methods to Prevent Browning After Cutting

Potatoes are an essential part of the kitchen, used to prepare various dishes, whether it's vegetable stews, fried donuts, or fries for children. However, it often happens that just a few minutes after peeling or cutting potatoes, they start to take on a light brown or black hue.

This occurs due to the oxidation process, where the starch of the cut potato comes into contact with air. This color change not only worsens the appearance of the product but can sometimes also affect its taste. If you plan to store cut potatoes in advance and want them to remain white and fresh, there are simple kitchen tricks that can solve this problem.

There are several effective methods to prevent potatoes from browning:

  • Soaking in Cold Water: The simplest and most effective method is to immediately place the potatoes in a bowl of plain cold water after cutting. Water prevents direct contact between the potato and oxygen in the air, thereby stopping oxidation, and allows the potato to remain white for many hours.
  • Adding Lemon Juice or Vinegar: If longer storage is required (for example, overnight or for several hours), half a teaspoon of lemon juice or white vinegar should be added to the water. The citric acid in the lemon completely blocks the oxidation process, preventing the potato's color from changing.
  • Using Ice Water: When cutting potatoes for making fries or tikki, immediately placing them in ice-cold water helps remove excess starch. This not only prevents browning but also makes the potato very crispy when frying.
  • Water with Salt or Coriander: Adding half a teaspoon of salt to the water containing the cut potatoes protects them from browning and helps balance excess moisture inside. This preserves both the taste and the appearance of the potato when cooking dishes.

Popular