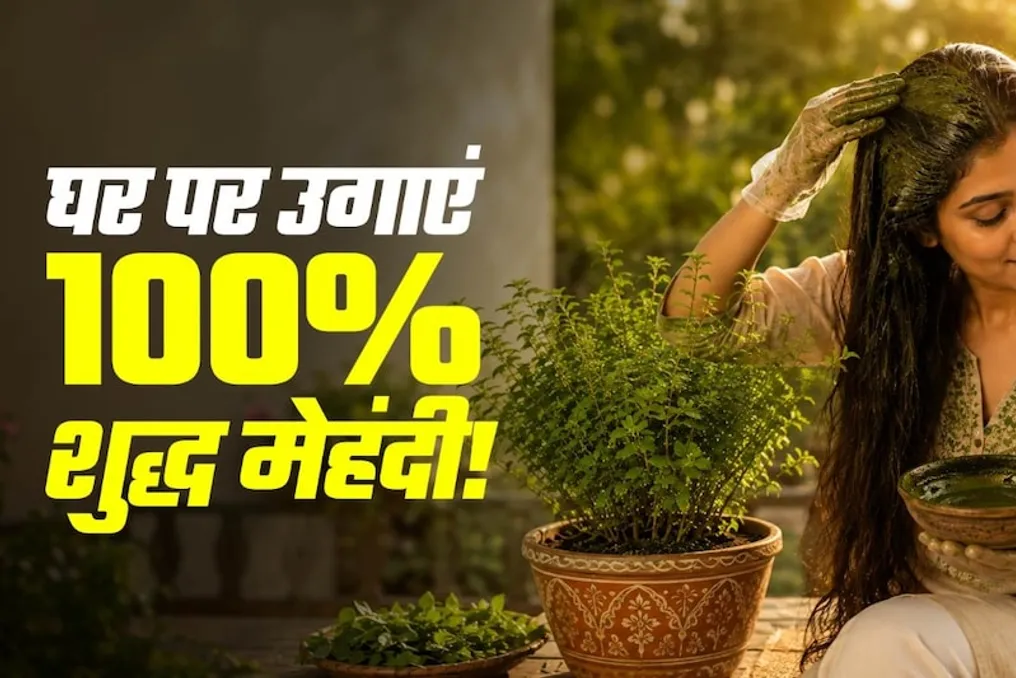
It is not necessary to buy dyes from the store for hair coloring; you can grow green henna in a pot by following several simple tips. Henna is widely used both for application on hands and for hair coloring. Although many people still use green henna powder to lighten gray hair instead of chemical dyes, modern commercial options are often fake, which prompts people to avoid buying them.
If you are someone who is wary of commercially produced products, do not worry. We will tell you how very easily to grow a henna plant in a pot at home. Many mistakenly believe that henna can only grow in large fields or gardens, but with a suitable pot, soil, sunlight, and water, it is easy to grow even on a balcony or roof. Furthermore, caring for it does not require daily hours of effort.
- Choosing the right pot and soil: For planting henna seedlings, you should choose a pot with a drainage hole at the bottom. The ideal size for a henna pot is about 12–14 inches deep. The soil must be such that water does not stagnate. To achieve this, you can mix garden soil with a small amount of sand and well-rotted manure or vermicompost. This will make the soil light and loose, facilitating root growth.
- Placing the plant in the sun: Henna prefers bright light and a warm climate. Therefore, the pot should be placed where the plant receives about 5–6 hours of direct sunlight daily. With insufficient light, new branches may develop weakly, and leaf growth slows down. If the plant has been in the shade for a long time, it should be gradually moved to a brighter spot, rather than being immediately exposed to bright sun.
- Pruning the upper shoots: If you want the henna to grow not only upwards but also be dense on all sides, you need to perform light pruning (removing dry branches or leaves). Once the new shoots have grown a little, you can gently pinch their soft tips with your fingers. This can stimulate the plant to form new branches, making it bushier.
- Regular watering is not required: Henna loves water, but stagnant water in the pot will harm it. Therefore, you should not water every day just out of habit. You need to check the top layer of the soil with your finger: only if the top 1–2 inches are dry should you water thoroughly. In cold or rainy weather, the water requirement may decrease, whereas in summer, due to rapid drying of the soil, slightly more water may be needed. The most important thing is to ensure that excess water drains freely from the pot.
- Pest protection and fertilization: For good plant development, organic fertilizers can be added from time to time. Every few weeks, it is beneficial to mix a little vermicompost or ash from Indian wood (neem) into the soil. Excessive fertilizer is unnecessary. If small insects appear on the leaves, you can use a weak neem oil solution. Mix a little neem oil and a few drops of mild liquid soap with one liter of water and gently spray the leaves. It is best to test the solution on a small area of the plant before treatment.
When planting henna, do not expect large leaves to appear immediately; you need to give the plant time to grow at its own pace. Good lighting, correct soil, timely watering, and periodic light pruning will help improve its development. Thus, instead of buying henna leaves from the store, you can prepare your own plant at home in a pot. With minimal care, even a small corner on a balcony or roof can be filled with green henna leaves.