Good Haj Recipe: How to Make Traditional Palm Sugar Sweets at Home
Read more
Aaj Tak
www.aajtak.in

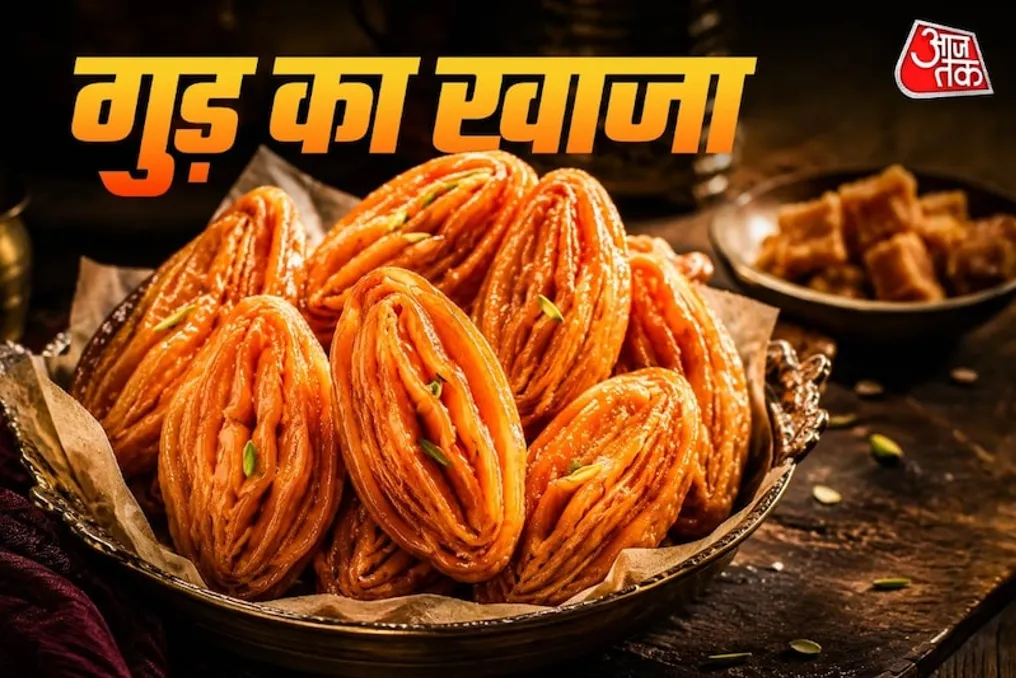
Good Haj Recipe: How to Make Traditional Palm Sugar Sweets at Home

If you want to bake something sweet for a special occasion at home, palm sugar hajja can be an excellent choice. This article provides a simple guide on how to prepare this dessert.

Hajja has always been one of the favorite traditional sweets for sweet lovers. Usually, hajja is prepared and eaten with sugar syrup at weddings and celebrations. However, here we will tell you how to make hajja with palm sugar. This dessert is characterized by a crispy texture on the outside, layers, and the rich sweetness of palm sugar inside, and it is liked by everyone from children to adults.

The best news is that it can be made at home quite easily and in a short time. Next, we will look at how to make hajja similar to what is made in confectioneries and what ingredients are needed for this.

Good Haj Recipe

To prepare, first mix flour, baking powder, and ghee in a large bowl. Gradually add milk and knead a soft dough. Cover the dough and leave it for 15–20 minutes. Then, divide the dough into equal pieces and roll them out into thin pancakes.

Apply a little ghee to each rolled pancake and sprinkle with dry flour. Continue stacking the remaining pancakes on top of each other. Form a dense roll from these pancakes, cut it into small pieces, and lightly flatten each piece, giving it the shape of hajja.

Heat oil or ghee in a pot and fry the hajja over medium or low heat until golden and crispy. On the other hand, in another dish, prepare a syrup from palm sugar and a small amount of water. Cardamom powder can be added for aroma. Dip the fried hajja into the syrup one by one and leave it for 1–2 minutes so that the syrup is well absorbed.

After that, take out the hajja and let it cool. The finished delicious hajja is ready to be served to family and guests.

Important Points

Note that the hajja should be fried over medium heat to become well crispy. It is also important not to make the syrup too thick, otherwise, it will not cover the hajja properly. To enhance the flavor, you can sprinkle a little grated coconut meat on top.
Similar stories

Heriali Pav Bhaji Recipe from Surat: A Green Version of Popular Street Food
Read more
www.aajtak.in

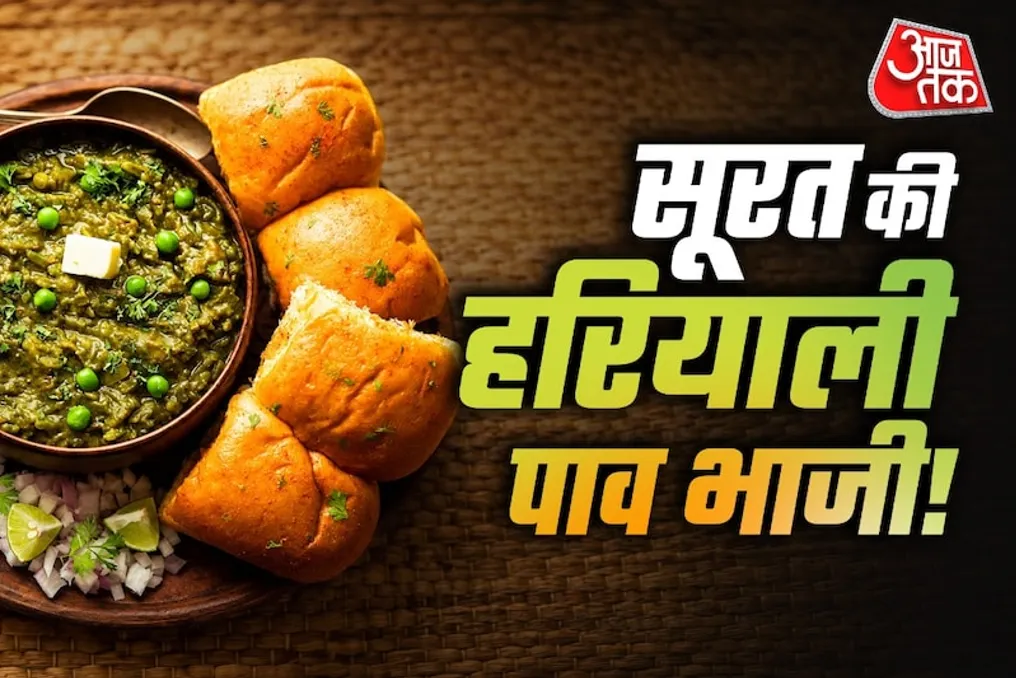
Heriali Pav Bhaji Recipe from Surat: A Green Version of Popular Street Food

The cities of Delhi and Mumbai are known for their street food, and people in both places greatly enjoy eating Pav Bhaji. However, besides Mumbai and Delhi, the city of Surat in Gujarat also serves Pav Bhaji, which differs from the usual version and has a green color.

If you are tired of Mumbai's Pav Bhaji, you should try the famous Heriali Pav Bhaji from Surat. This dish is made from fresh greens such as spinach, coriander, and mint, and it looks not only delicious but also very striking. Various vegetables, oil, and spices for Pav Bhaji are also included, making its taste even more exceptional. In Surat, it is also called Green Ghotala Pav Bhaji.

Thanks to the large amount of green vegetables, this dish is not unhealthy compared to other types of fast food. Moreover, it can be prepared at home using little oil and maintaining cleanliness. It can be offered to children for breakfast because they are attracted by its bright color.

How to make Heriali Pav Bhaji?

Certain ingredients are required to prepare Heriali Pav Bhaji. After cooking, it is recommended to serve hot Heriali Pav Bhaji with fried buns (pav) smeared with butter. To enhance the flavor, you can sprinkle grated cheese and a little red chili. This green and spicy dish is perfect for an evening snack, a party, or a special weekend dinner.

There is a simple trick to prevent the oil from burning when preparing Heriali Pav Bhaji: be sure to mix the butter with a small amount of vegetable oil. Adding oil helps prevent the quick burning of butter and preserves the rich buttery taste in the bhaji itself.

Hamman Dhokla Recipe: How to Make Fluffy and Crumbly Dessert from Lentil Flour and Semolina
Read more
www.aajtak.in

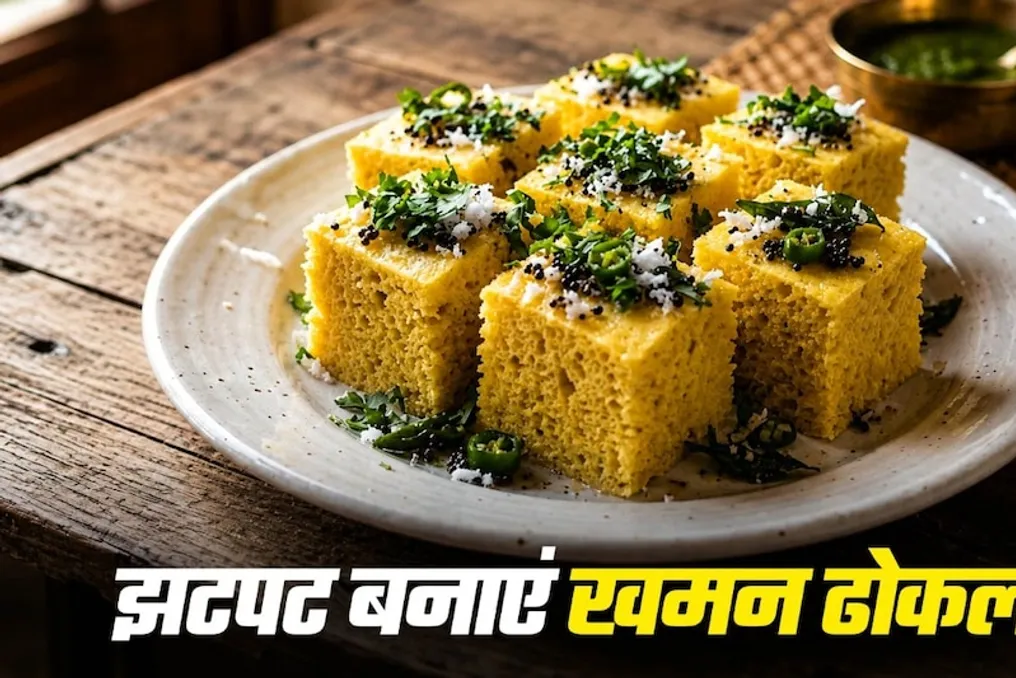
Hamman Dhokla Recipe: How to Make Fluffy and Crumbly Dessert from Lentil Flour and Semolina

Known as Hamman Dhokla in Gujarat, it is popular across the country and enjoyed as a snack even in cities like Delhi and Mumbai. If your family members are tired of monotonous types of dhokla, you can easily make Hamman Dhokla at home and treat everyone to it. Its sweet and sour taste and texture are very appealing to children, and people enjoy eating it immensely.

We will tell you how to prepare perfectly fluffy and juicy Hamman Dhokla that resembles a restaurant version. The main feature of this recipe is that it does not require much preparation time while being a light and healthy snack. It can be used for breakfast in the morning, for an evening tea, or for children's lunch.

Ingredients for Hamman Dhokla

Ingredients for the batter and for the fried tempering are required for preparation.

Simple Preparation Method

First, mix the lentil flour (besan), semolina (sooji), salt, turmeric, and sugar in a large bowl. Then, gradually add yogurt, lemon juice, and a little water to knead a smooth, lump-free batter. Cover the finished batter and set it aside for 10–15 minutes.

In parallel, place water in a steamer or a large pot to heat up. Grease the mold or pan in which the dhokla will be cooked with a small amount of oil. Before starting to steam, add Eno to the batter and mix it lightly, adding one tablespoon of water. As soon as the batter starts to rise, pour it immediately into the greased mold.

Place the mold in the steamer and cook over medium heat for 15–20 minutes. Check for doneness with a toothpick: if it comes out clean, the dhokla is ready. After it cools down a bit, cut it into the desired shape.

Tempering Preparation Method

Heat oil in a pan and add mustard seeds. When they start to sizzle, add green chili and curry leaves, frying them for a couple of seconds. Next, pour water, sugar, and lemon juice into the pan, bringing the mixture to a boil. Gently pour the resulting tempering over the sliced dhokla so that it absorbs the juice well. Finally, garnish the dish with fresh coriander and grated coconut.

Simple Tips for Enhancing Flavor

Salted Biscuit Recipe with Cashews: How to Make at Home Like in a Bakery
Read more
www.aajtak.in

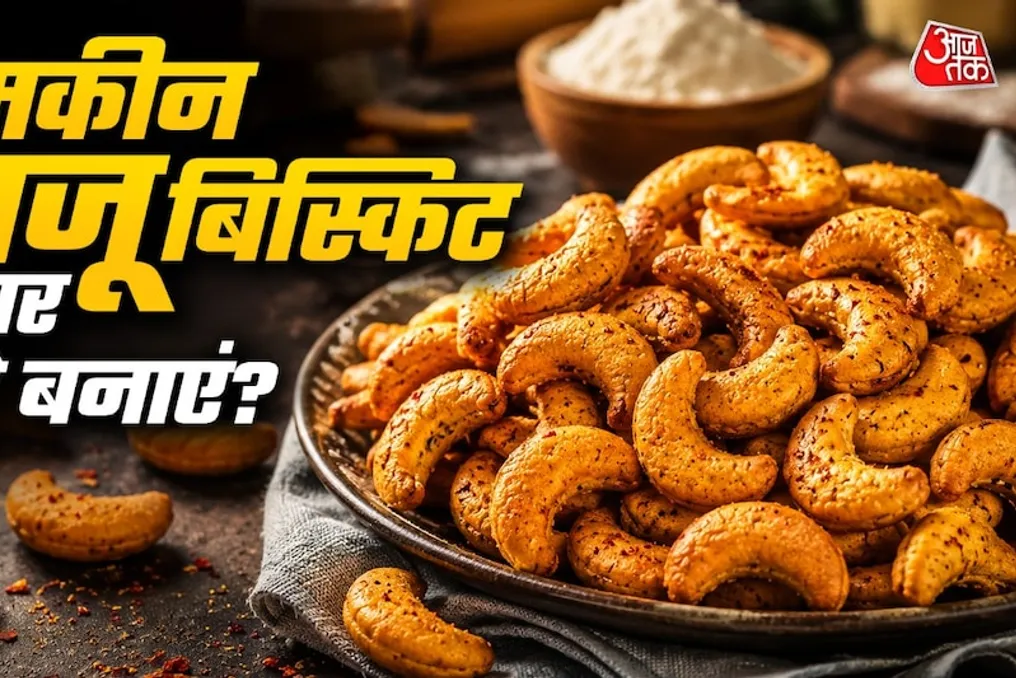
Salted Biscuit Recipe with Cashews: How to Make at Home Like in a Bakery

We present a simple way to make crispy and tasty salted biscuits with cashews at home. These biscuits can be easily stored in an airtight container and eaten with tea or as a small snack.

Salted biscuits with cashews are an ideal choice if you want something crunchy and salty with tea. They feature a crispy outer texture and a soft inner filling, and they are very easy to prepare at home without requiring many ingredients.

Their taste perfectly matches the taste of salted biscuits with cashews sold in bakeries. If you also want to make these biscuits at home, we will tell you a simple method.

To start making salted biscuits with cashews, you need to beat butter and sugar well in a large bowl until a light and creamy consistency is achieved. Then, finely chopped cashews are added to this mixture and thoroughly mixed.

Next, flour, salt, ground black pepper, cumin, and baking powder are added to this mass. All ingredients are mixed to form a soft dough. If the dough seems dry, a little milk can be added for kneading. The finished dough is covered and left for 15 minutes.

After that, small balls are formed from the dough and slightly flattened, giving them a biscuit shape. The biscuits are placed on a baking sheet, leaving a small space between them. Preheat the oven to 170 degrees Celsius and bake the biscuits for 15–18 minutes. If you do not have an oven, they can be baked in a slow cooker without the whistle on low heat.

After baking, the biscuits must cool completely. As they cool, they become even crispier. The finished salted biscuits with cashews are served with tea or coffee. Storing them in an airtight container helps maintain freshness for several days.

The butter should be at room temperature so it can be easily beaten. The dough should not be kneaded too stiffly or too loosely. Do not bake the biscuits for too long, otherwise, they may become hard. After baking, be sure to let the biscuits cool completely; only then will they acquire the desired crispy texture. Always store the biscuits in an airtight container to keep them crunchy for a long time.

Popular