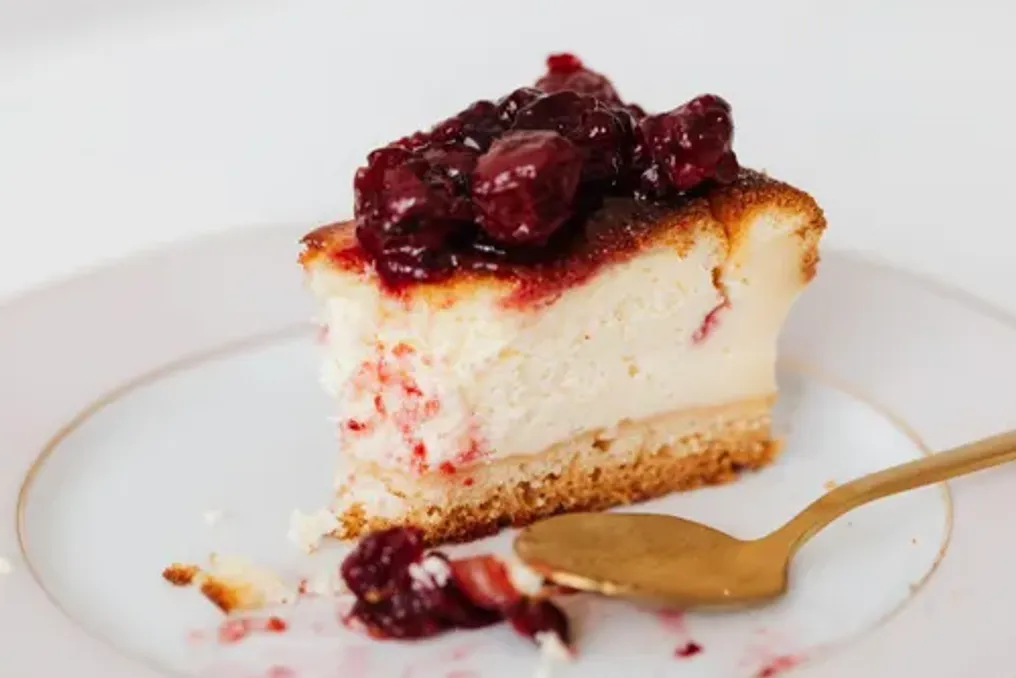
Making a rich and delicate cheesecake can be an impressive dish for holidays, dinner parties, or just for a home treat. There is a special pleasure in taking a beautifully baked cheesecake out of the oven—it turns out rich, creamy, and substantial.
However, anyone who has tried baking cheesecake knows how disappointing it is to see a crack on the surface, creating the feeling that all the effort was wasted. The good news is that cracks rarely occur due to an incorrect recipe.
They are almost always a result of how the cheesecake is mixed, baked, and cooled. Small adjustments in technique can drastically change the outcome, helping to keep the cheesecake smooth, creamy, and crack-free.
Ingredient Preparation
One of the most common mistakes is using cream cheese directly from the refrigerator. Cold cream cheese mixes poorly, leaving small lumps in the batter. There is a temptation to keep mixing until the lumps disappear, but this introduces too much air.
Instead, the cream cheese, eggs, and any dairy ingredients should be allowed to warm up to room temperature before baking. This allows them to combine much more easily, ensuring a silky, smooth batter without overmixing.
Mixing Technique
Unlike batter for a regular cake, cheesecake does not require whipping in a large amount of air. Overmixing traps air bubbles, causing the cheesecake to rise in the oven and then collapse upon cooling. This is one of the main causes of cracking.
First, beat the cream cheese and sugar until smooth, and then add the eggs one by one, mixing only until they are fully incorporated. Once all ingredients are mixed, stop the mixing process. Before pouring the filling into the crust, gently tap the bowl or pan on the counter to release any large air bubbles.
Using a Water Bath
A water bath, also known as a bain-marie, provides gentle and even heat while baking the cheesecake. Without it, the exterior may cook too quickly while the center is still setting, increasing the likelihood of cracking.
It is necessary to carefully wrap the outside of the cheesecake pan with aluminum foil before placing it in a large roasting pan. Then, pour hot water into the roasting pan up to about halfway up the sides of the cheesecake pan. The steam helps the cheesecake bake more evenly and maintains its perfectly creamy texture.
Cooling Process
Cooling is just as important as the baking itself. When the cheesecake is done, the edges should be set, while the center should still jiggle slightly. One should avoid the temptation to bake it until completely firm.
Turn off the oven, leave the door slightly ajar, and let the cheesecake cool inside for about an hour. This gradual drop in temperature helps prevent sudden drying, which often causes cracks. After it reaches room temperature, it must be placed in the refrigerator for at least six hours, or preferably overnight, before slicing. This extra patience is worth it: the texture will become denser and creamier, and the flavors will have time to fully develop.